This post contains affiliate links by which I may earn a commission to support this ministry and my family at no extra cost to you. Disclosure
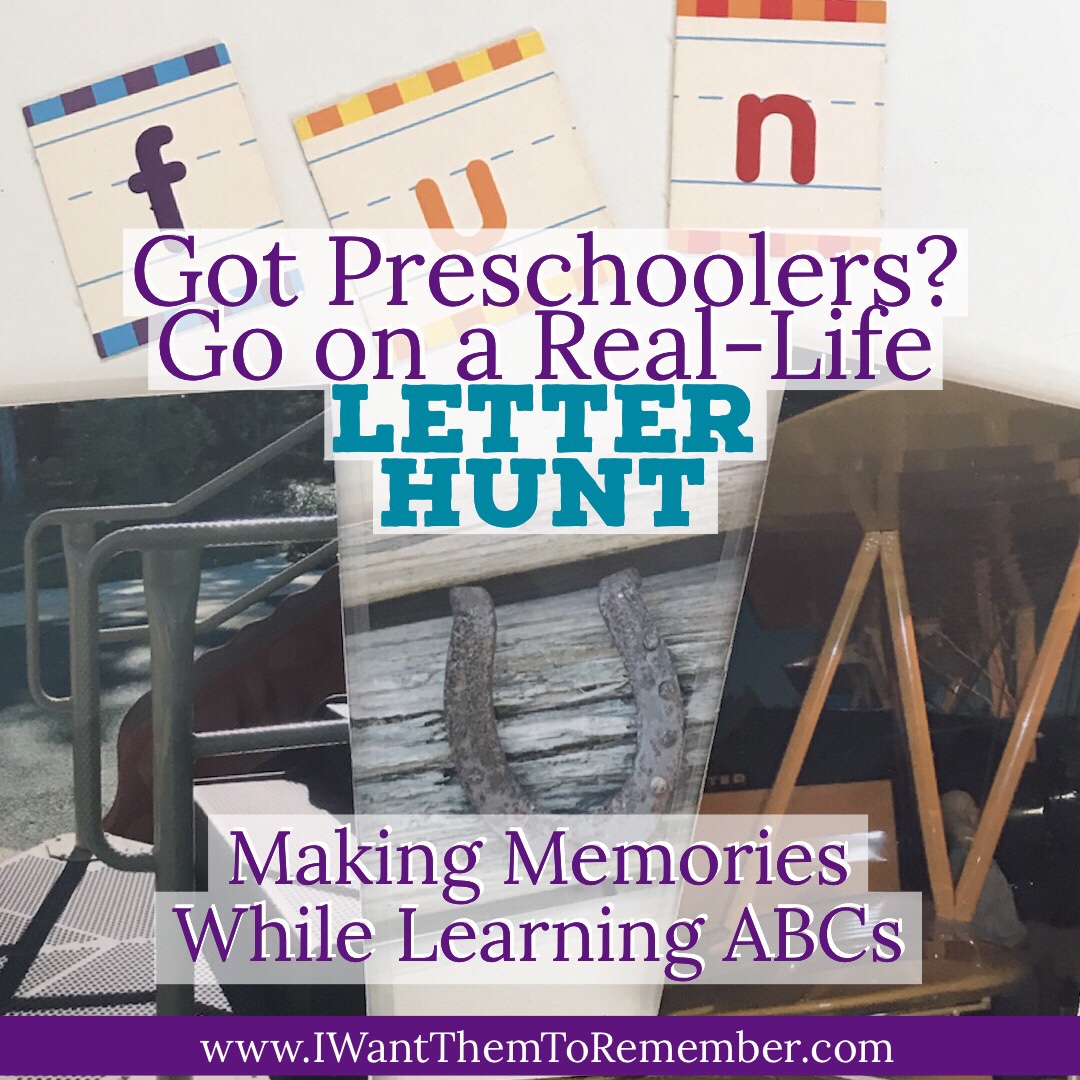
Learning to recognize letters of the alphabet can be one of the most challenging parts of preschool and kindergarten. Some kids pick up on it so easily, while others struggle through months of hard work. One way we made learning letters fun in our homeschool is through a Real-Life Letter Hunt.
You’ve probably seen beautiful artwork using letters seen in random objects. Photographers put these together to spell love, family, names, and more.
We took this idea, and searched the outdoors to find and photograph all the letters of the alphabet.
Some letters were easy to find, but others, like the letter “Q” were a little more challenging. We made a list to keep track of which letters we still needed to find. We included both upper and lower case letters when possible, and took several different photos of the same letter so we could choose our favorite.
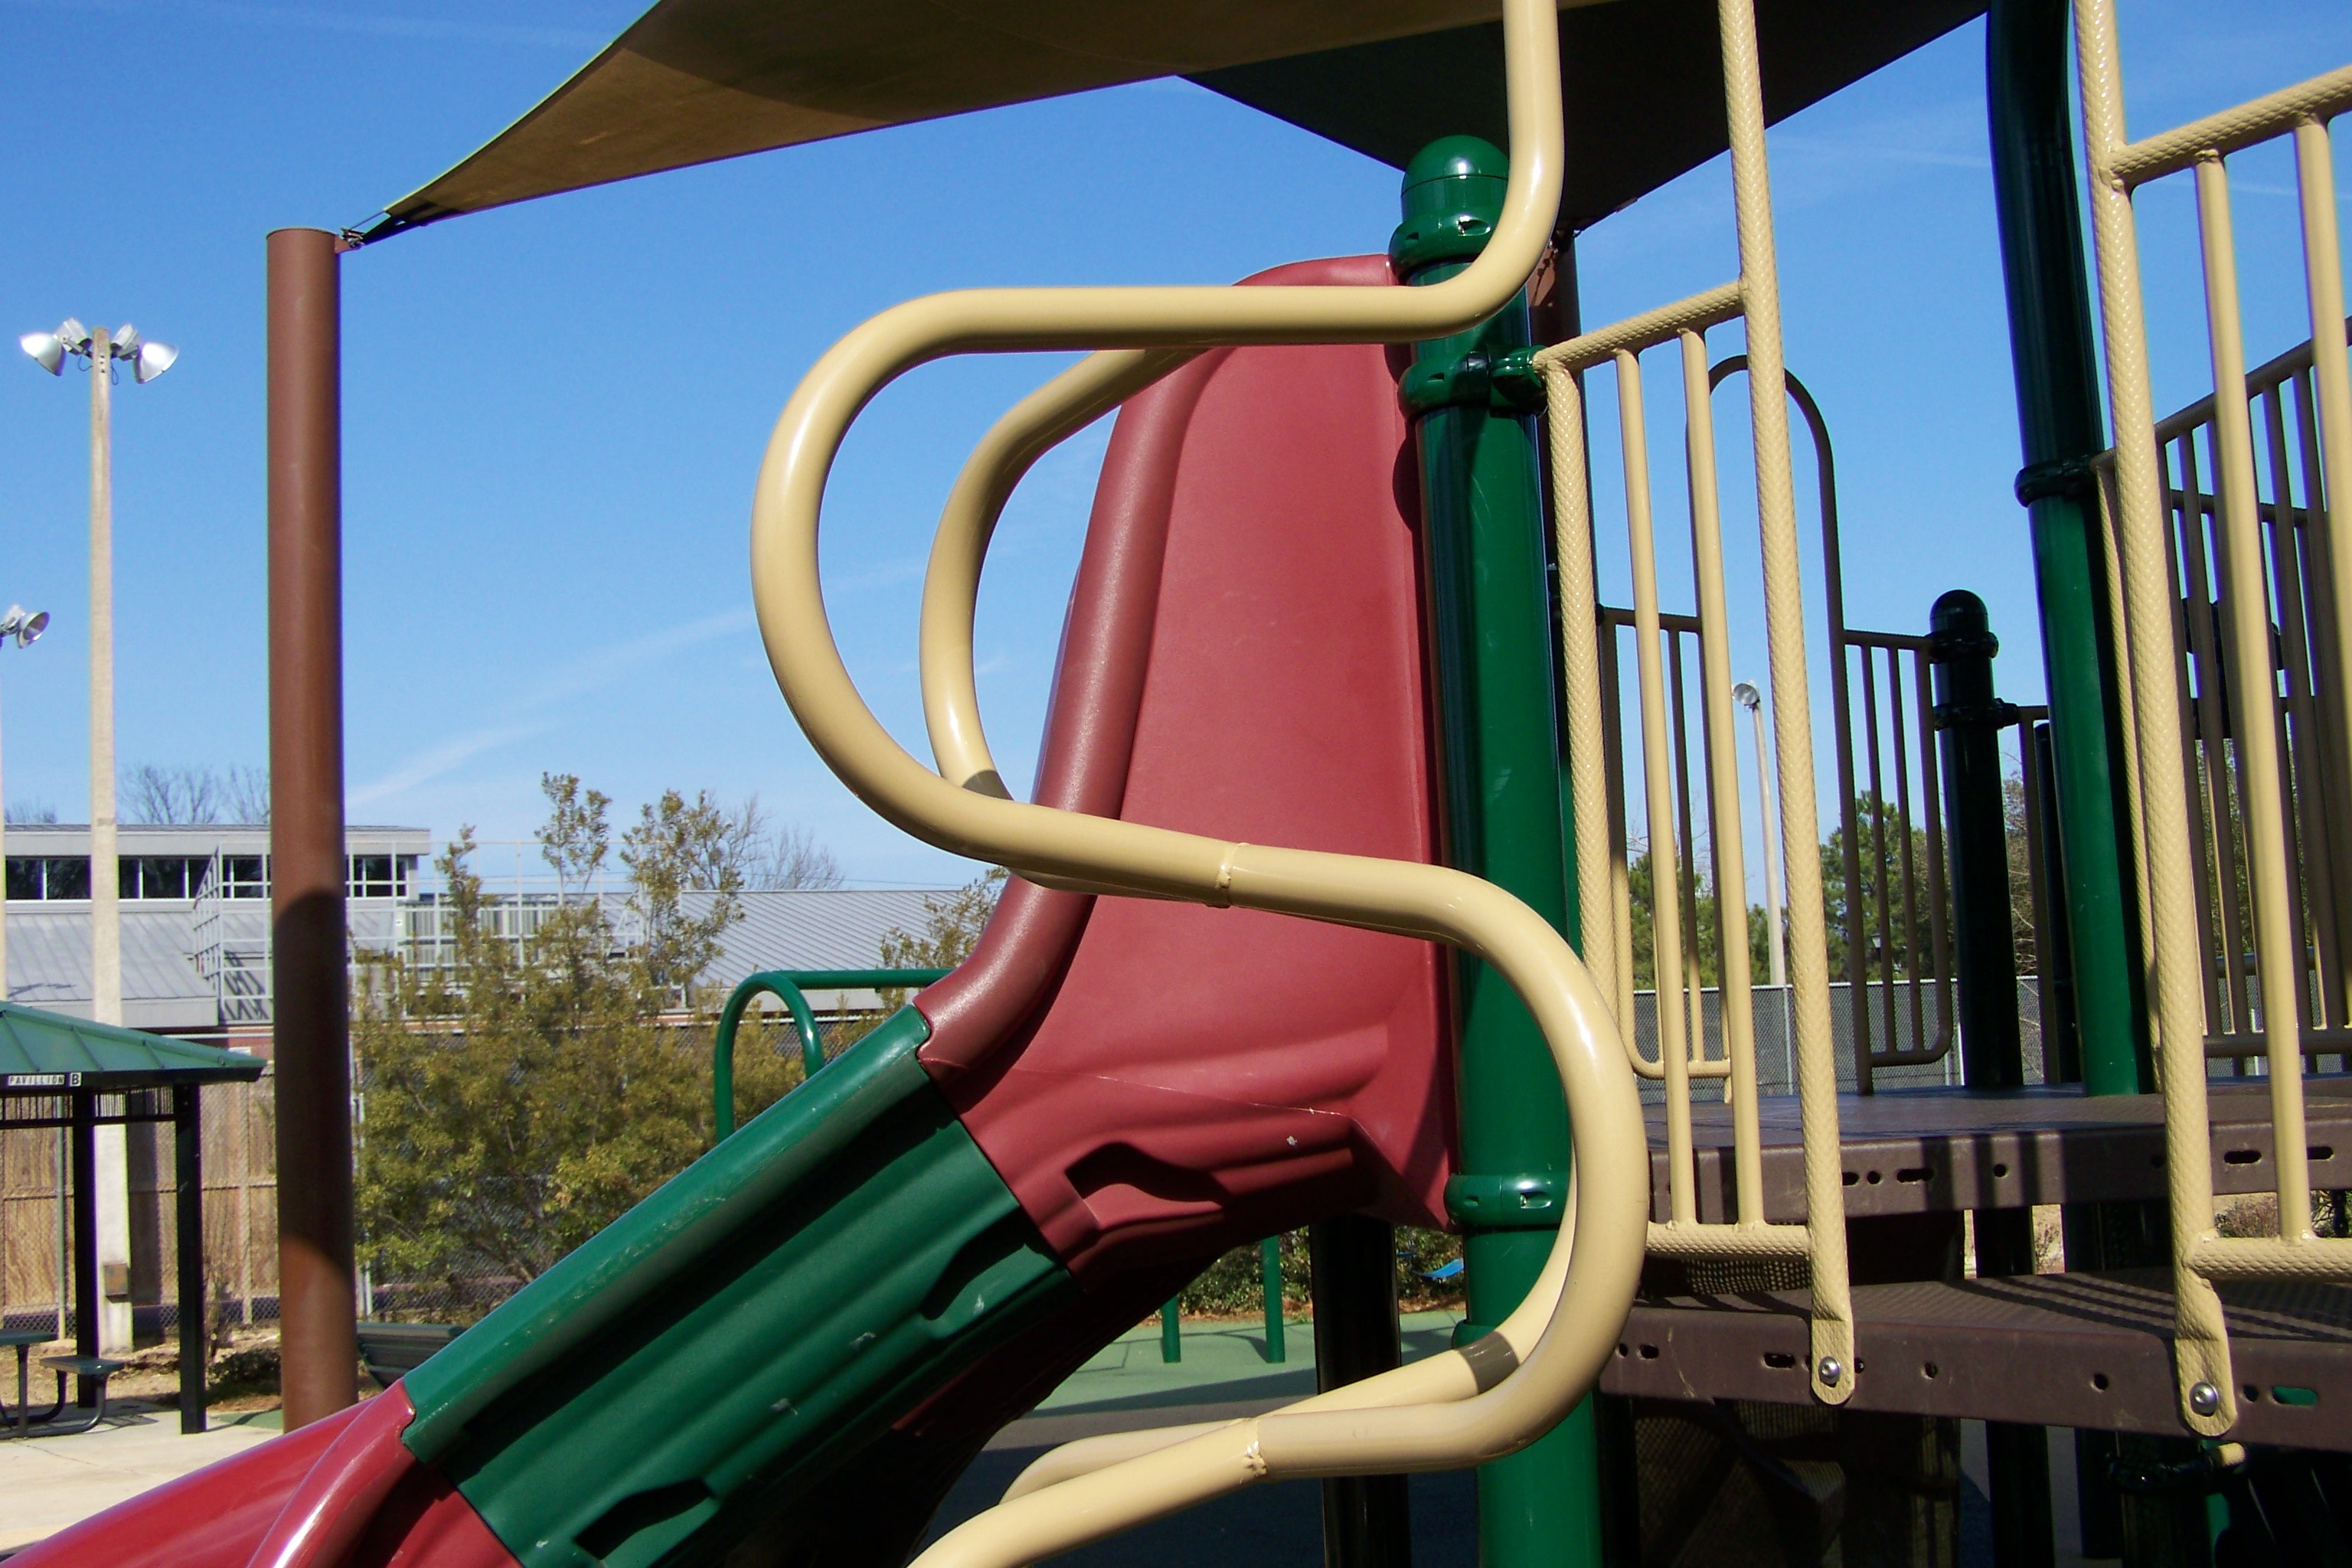
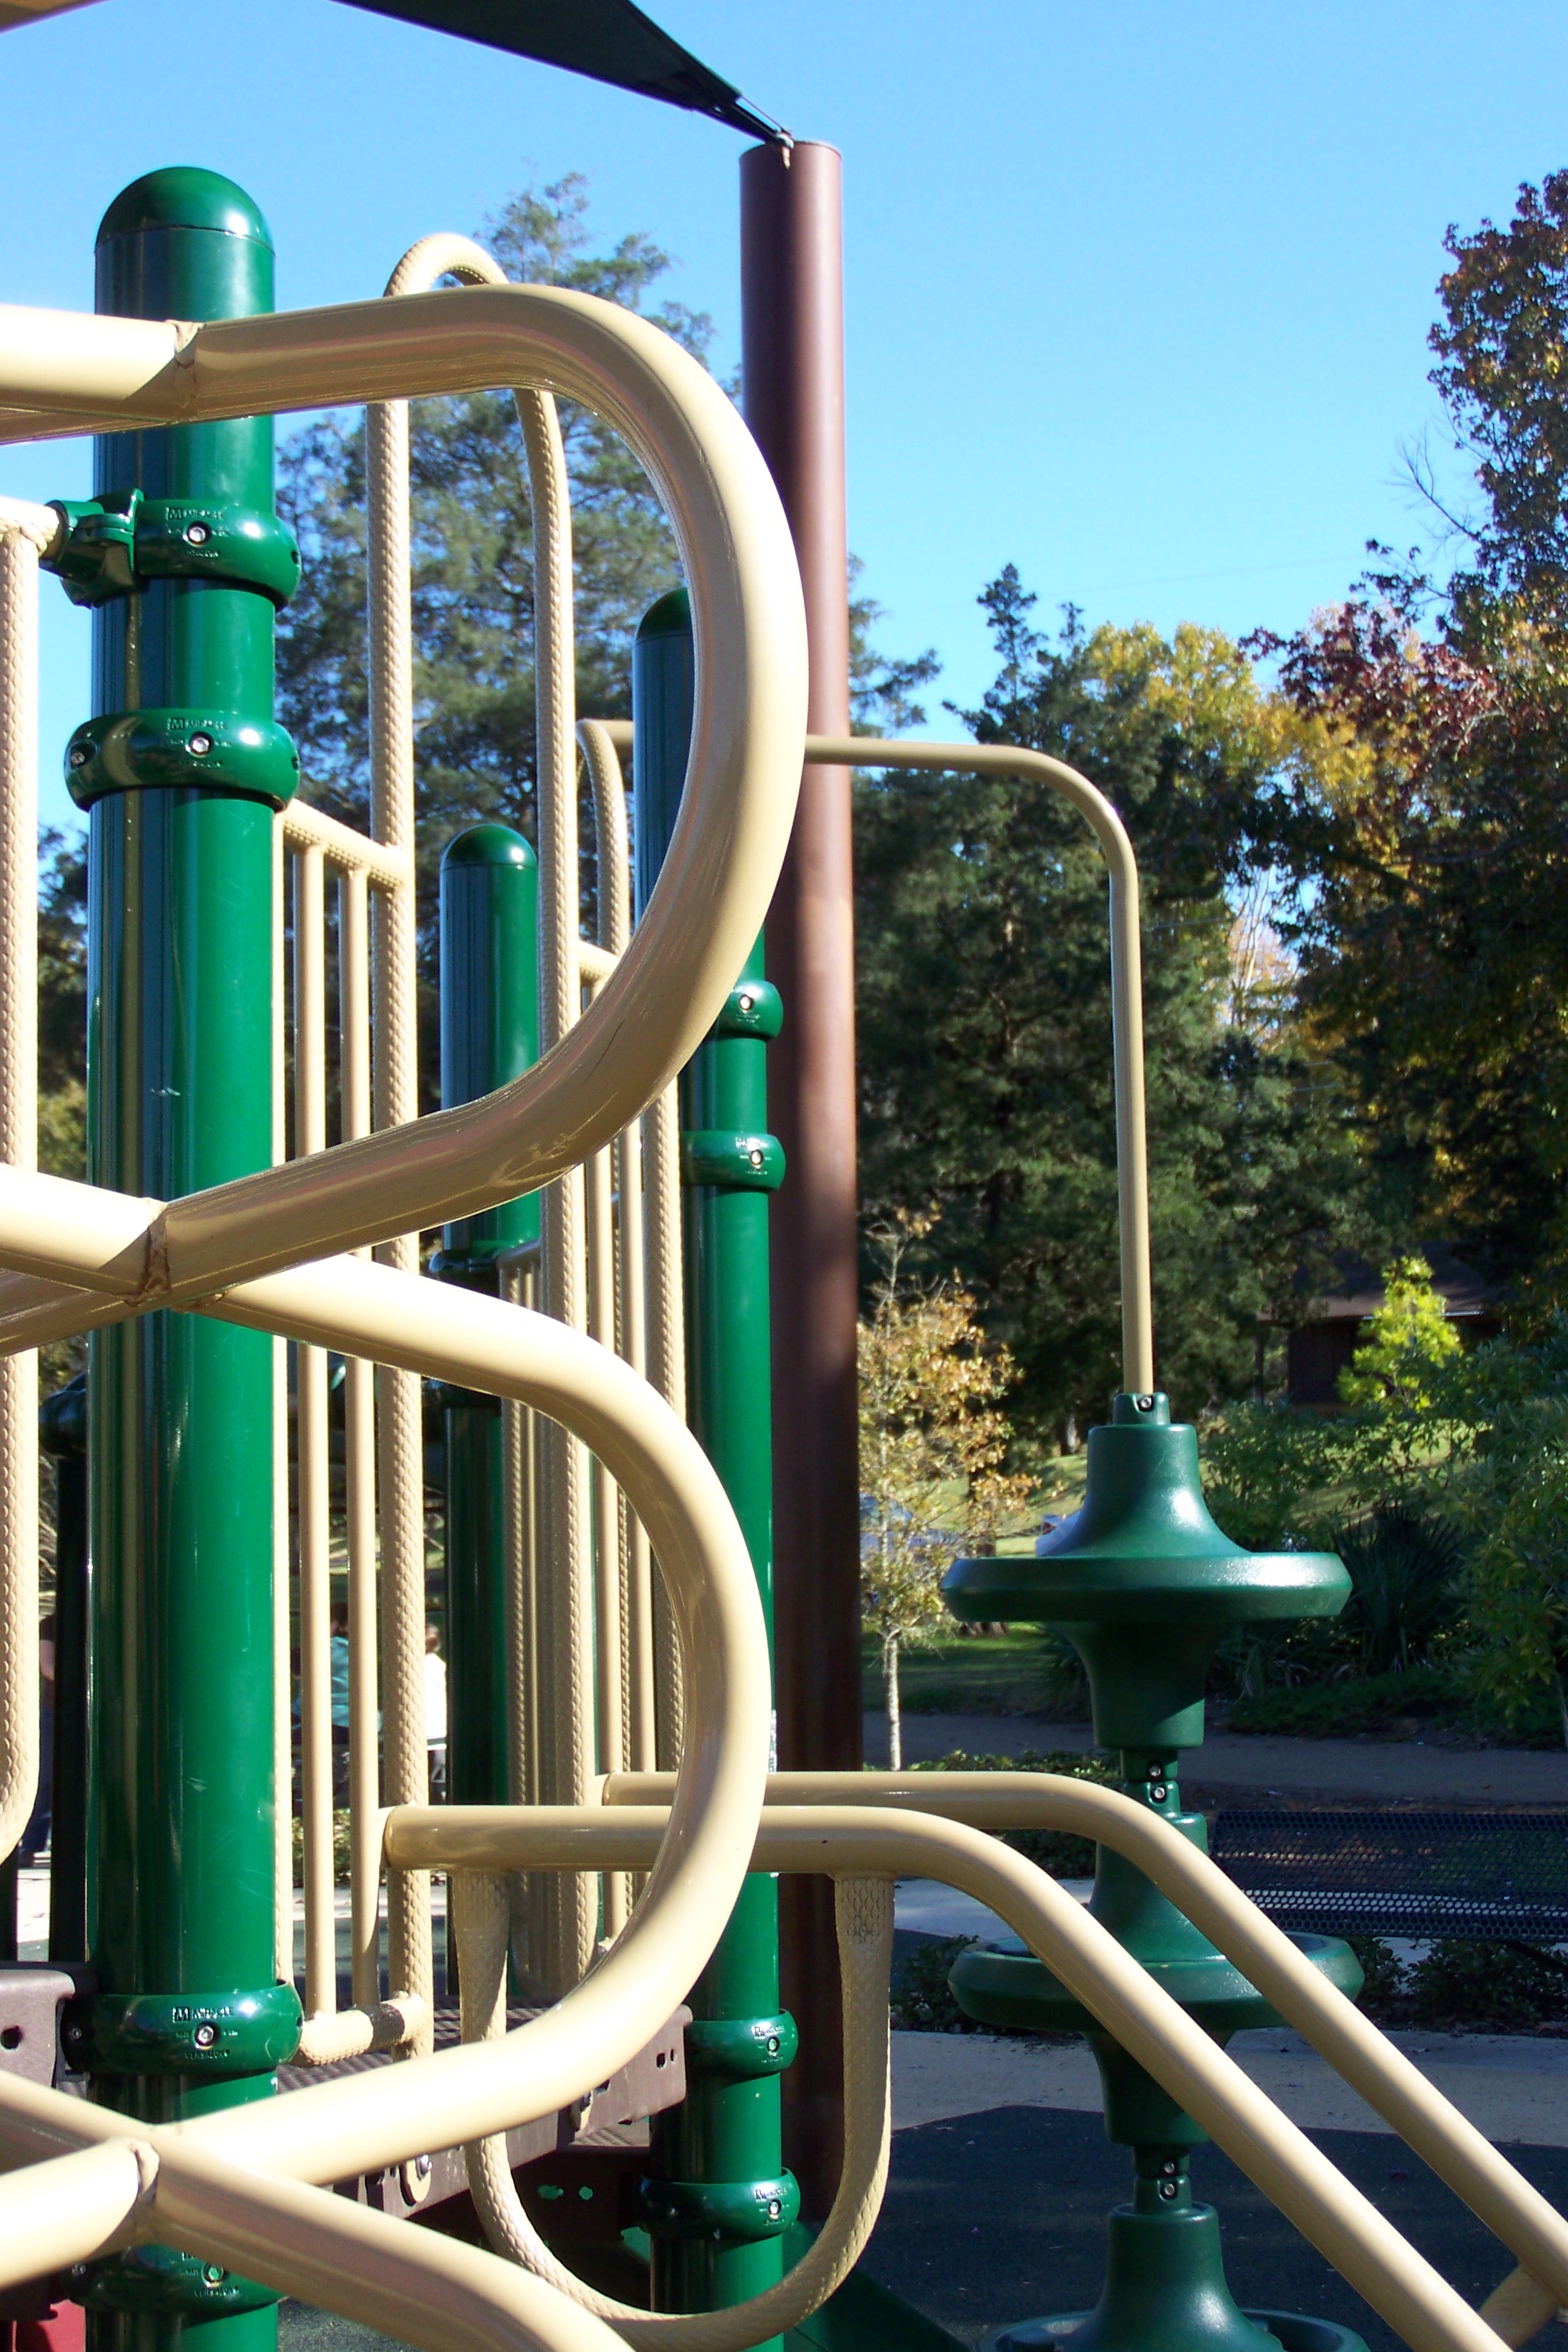
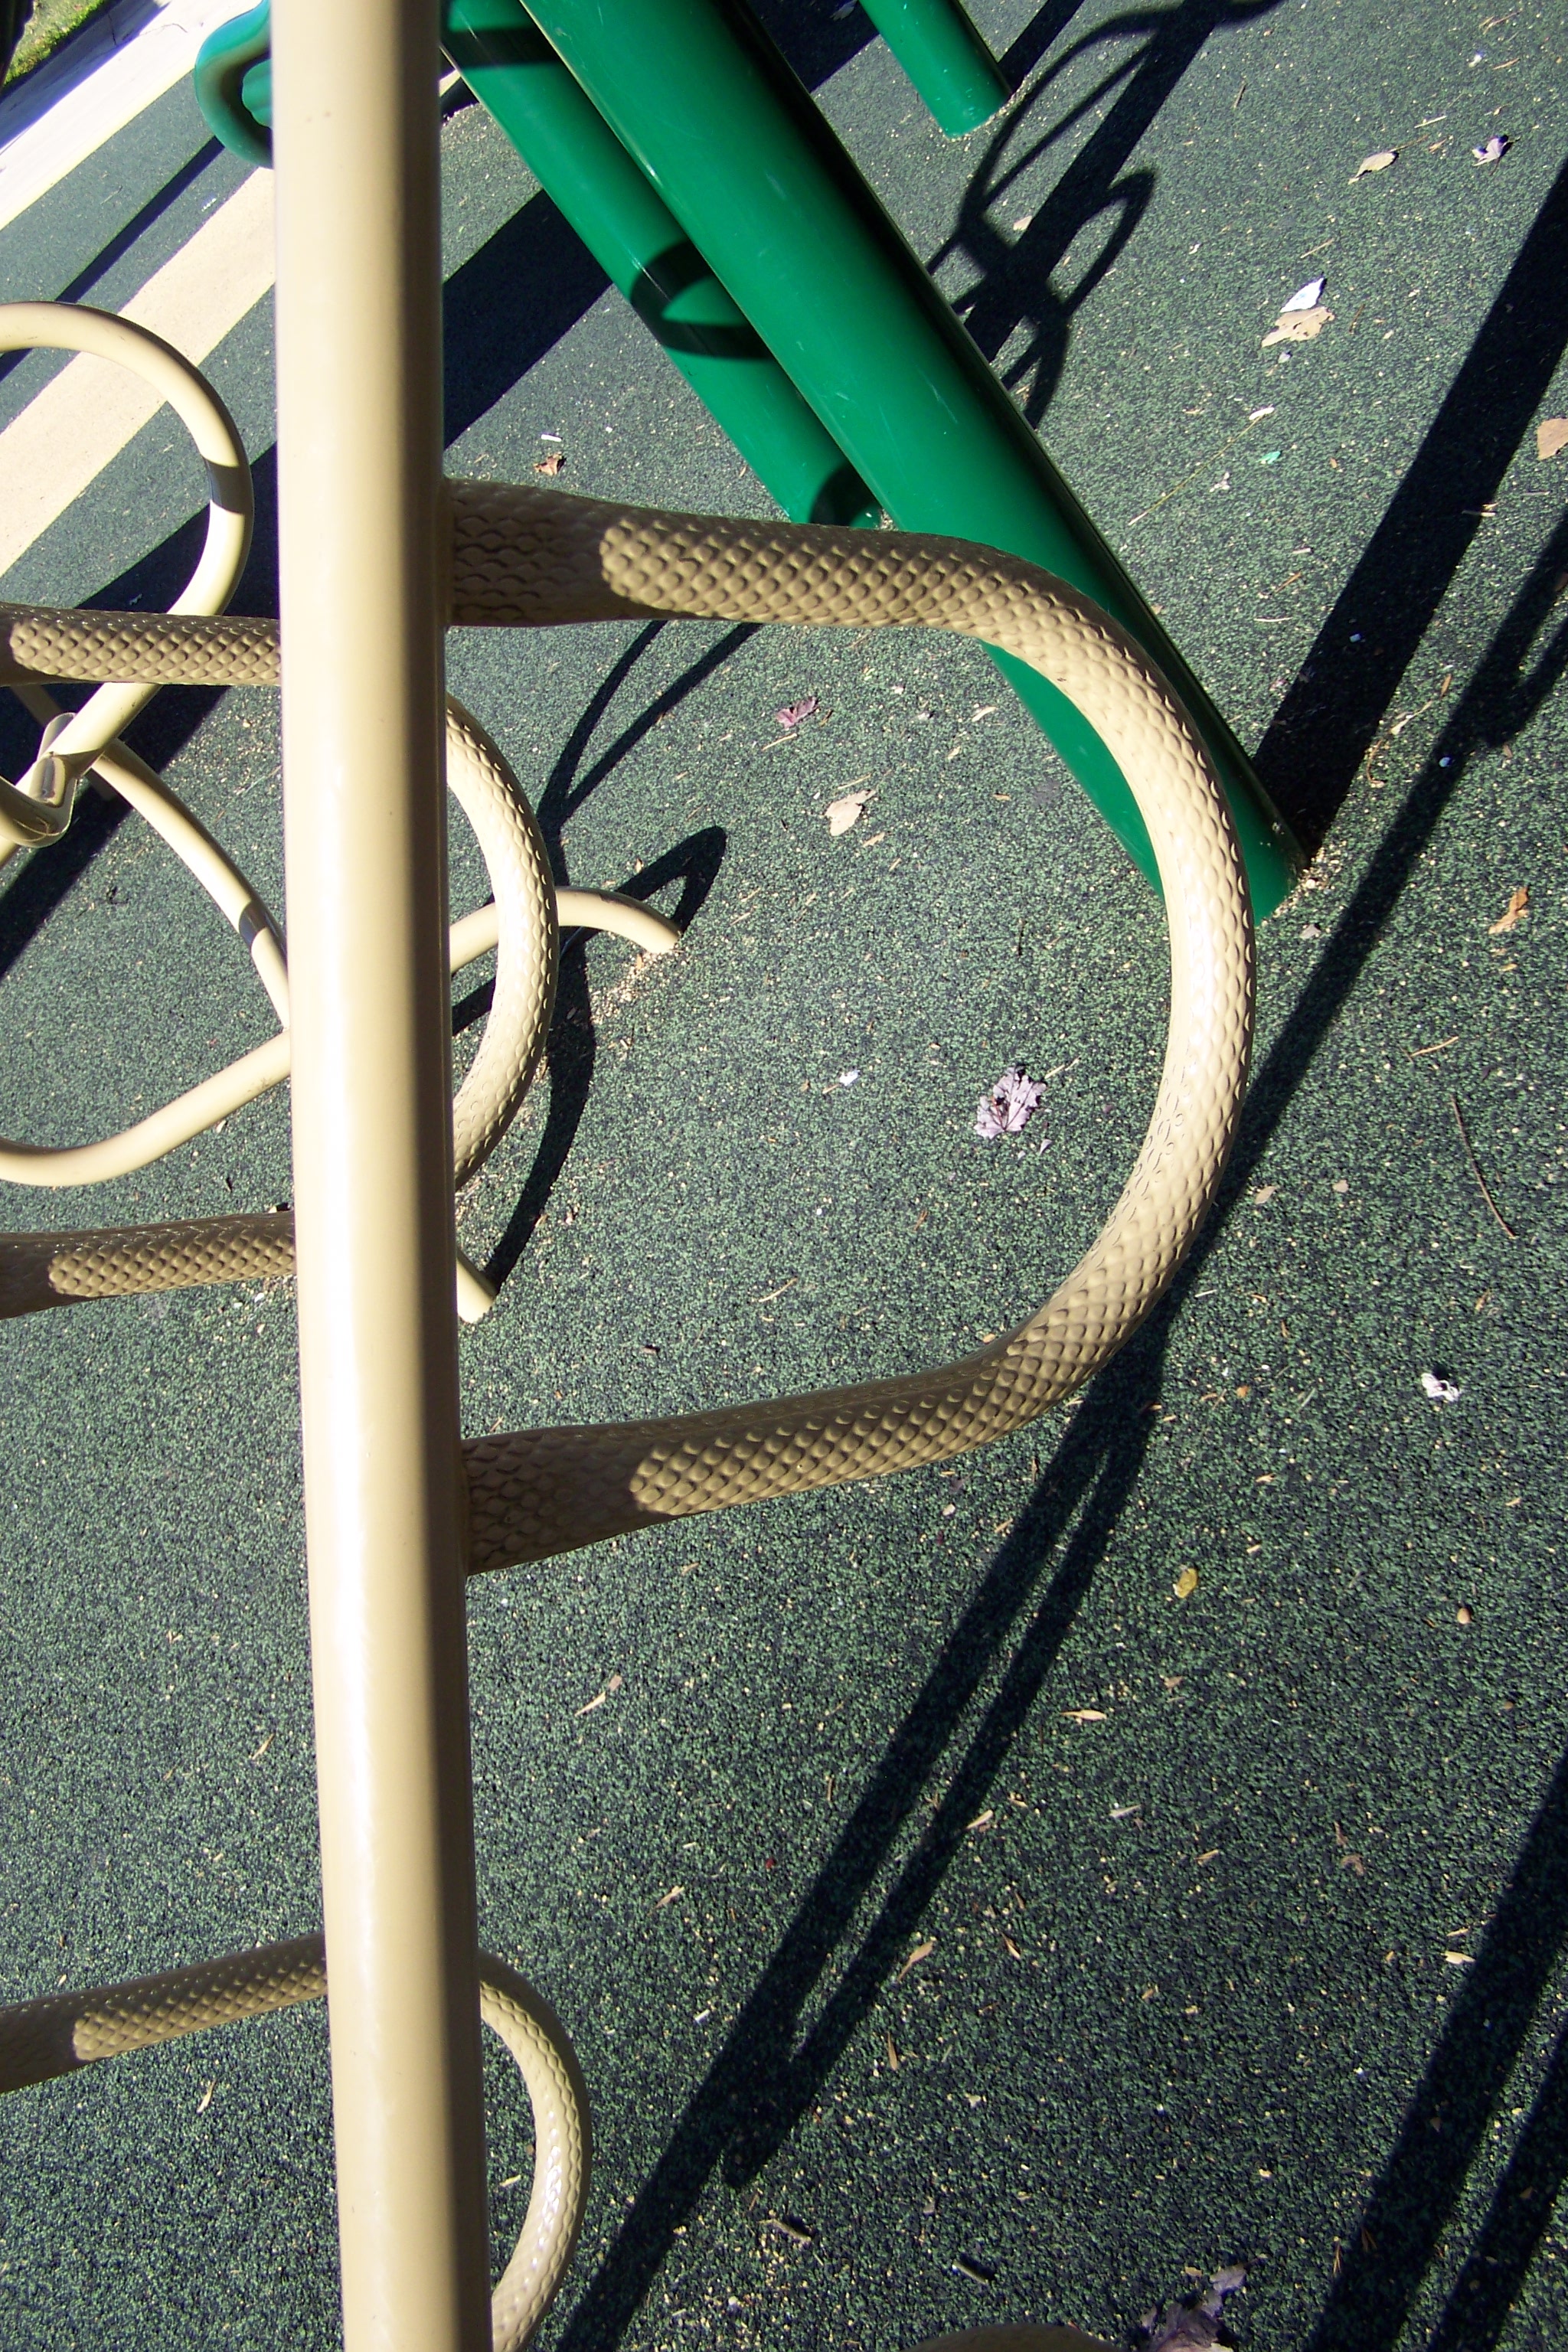
Many of our pictures came from a day at the park and a field trip to the Agricultural Museum. As we look through the photos, it’s fun to go back and remember where we found particular letters and the adventures we had trying!
See some of our fun Letter finds below. (Click for full photo.)
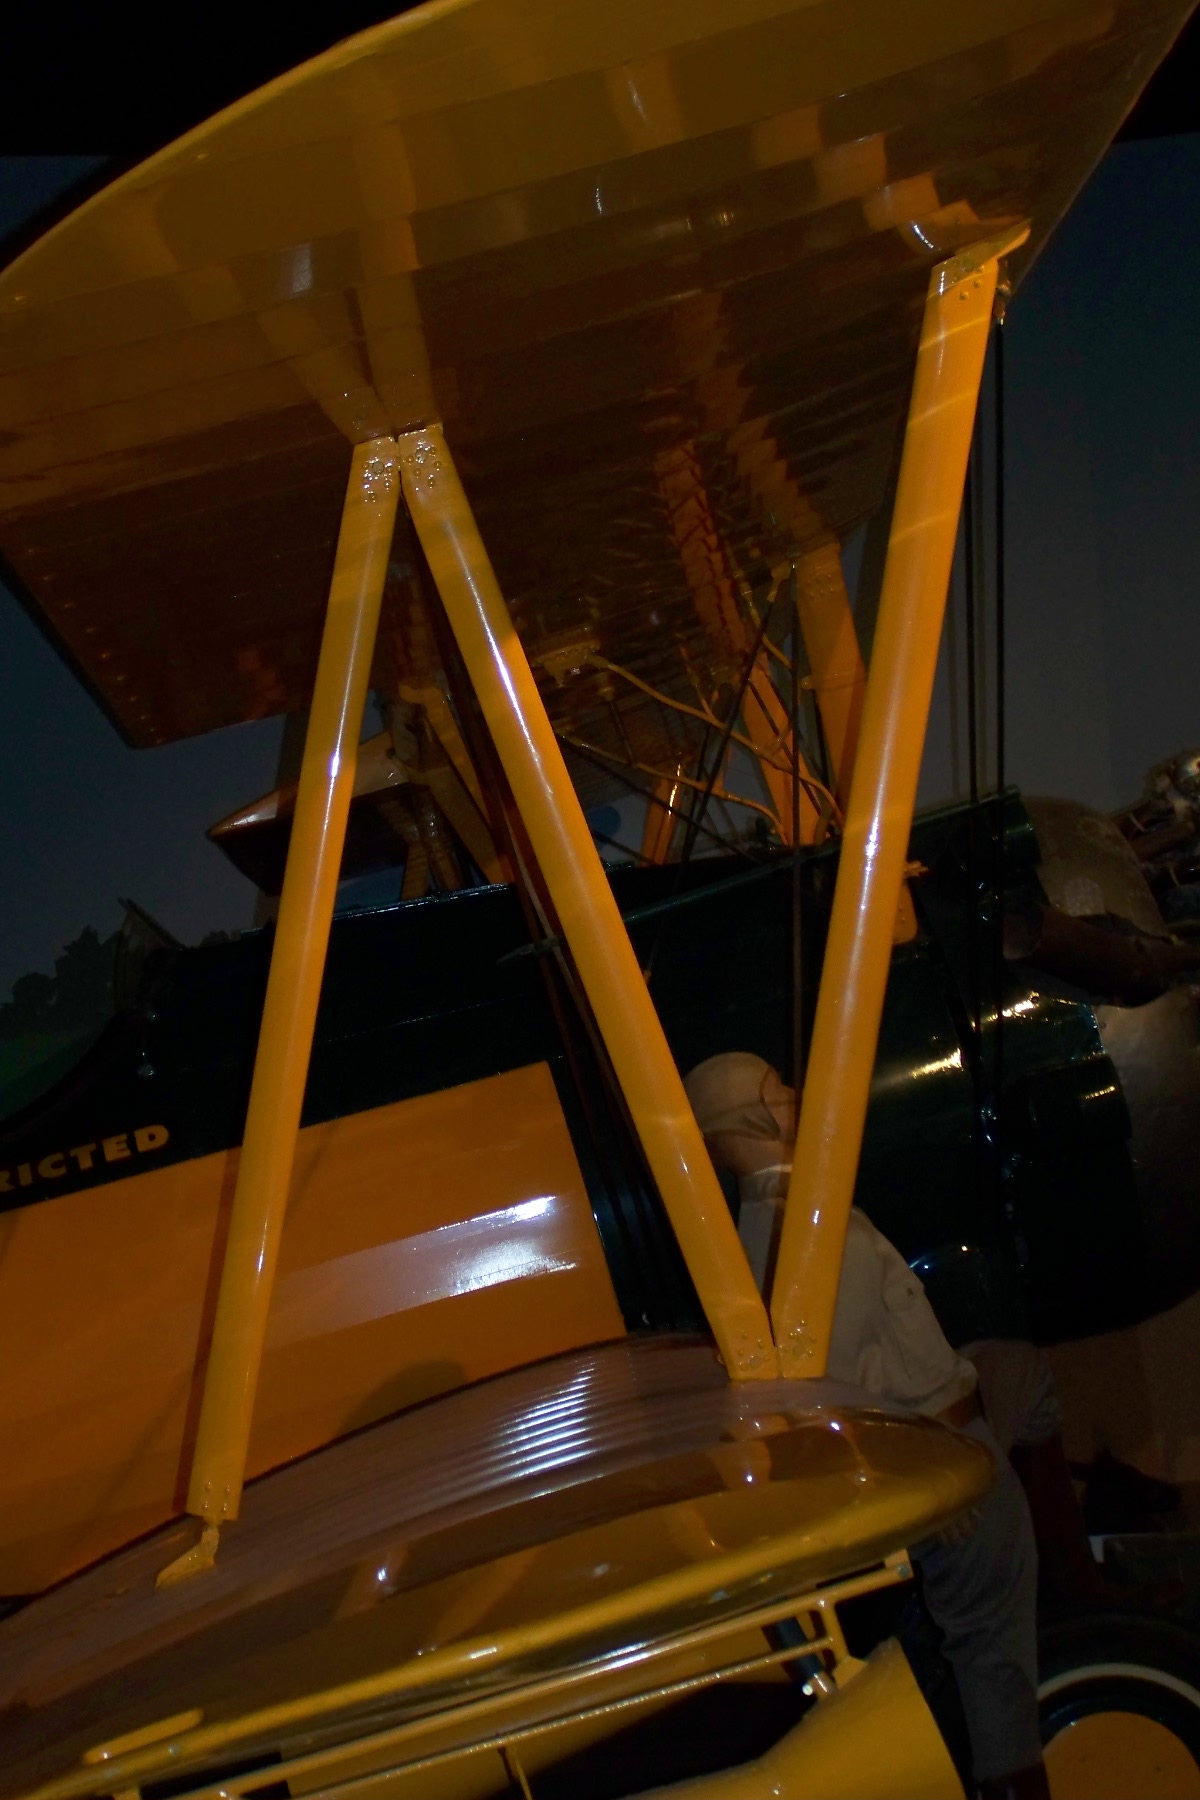
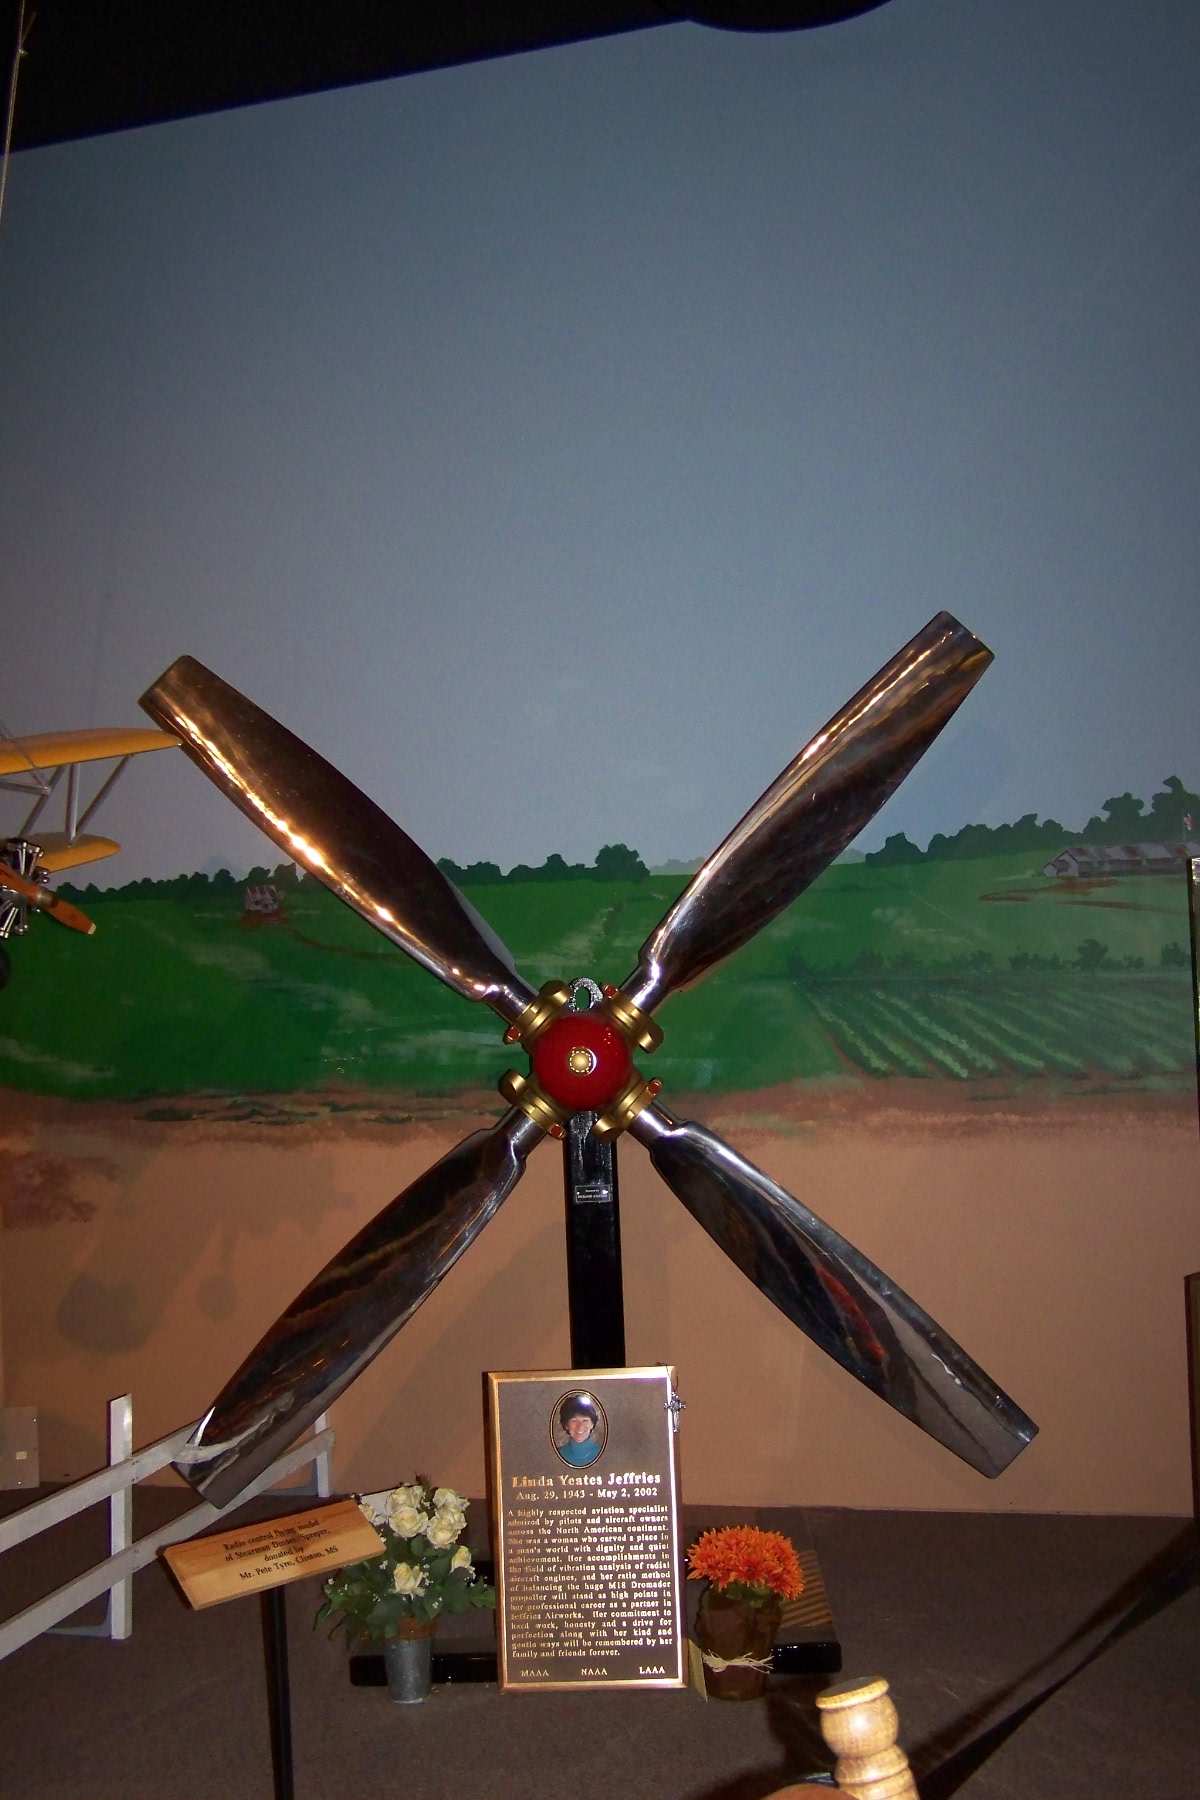
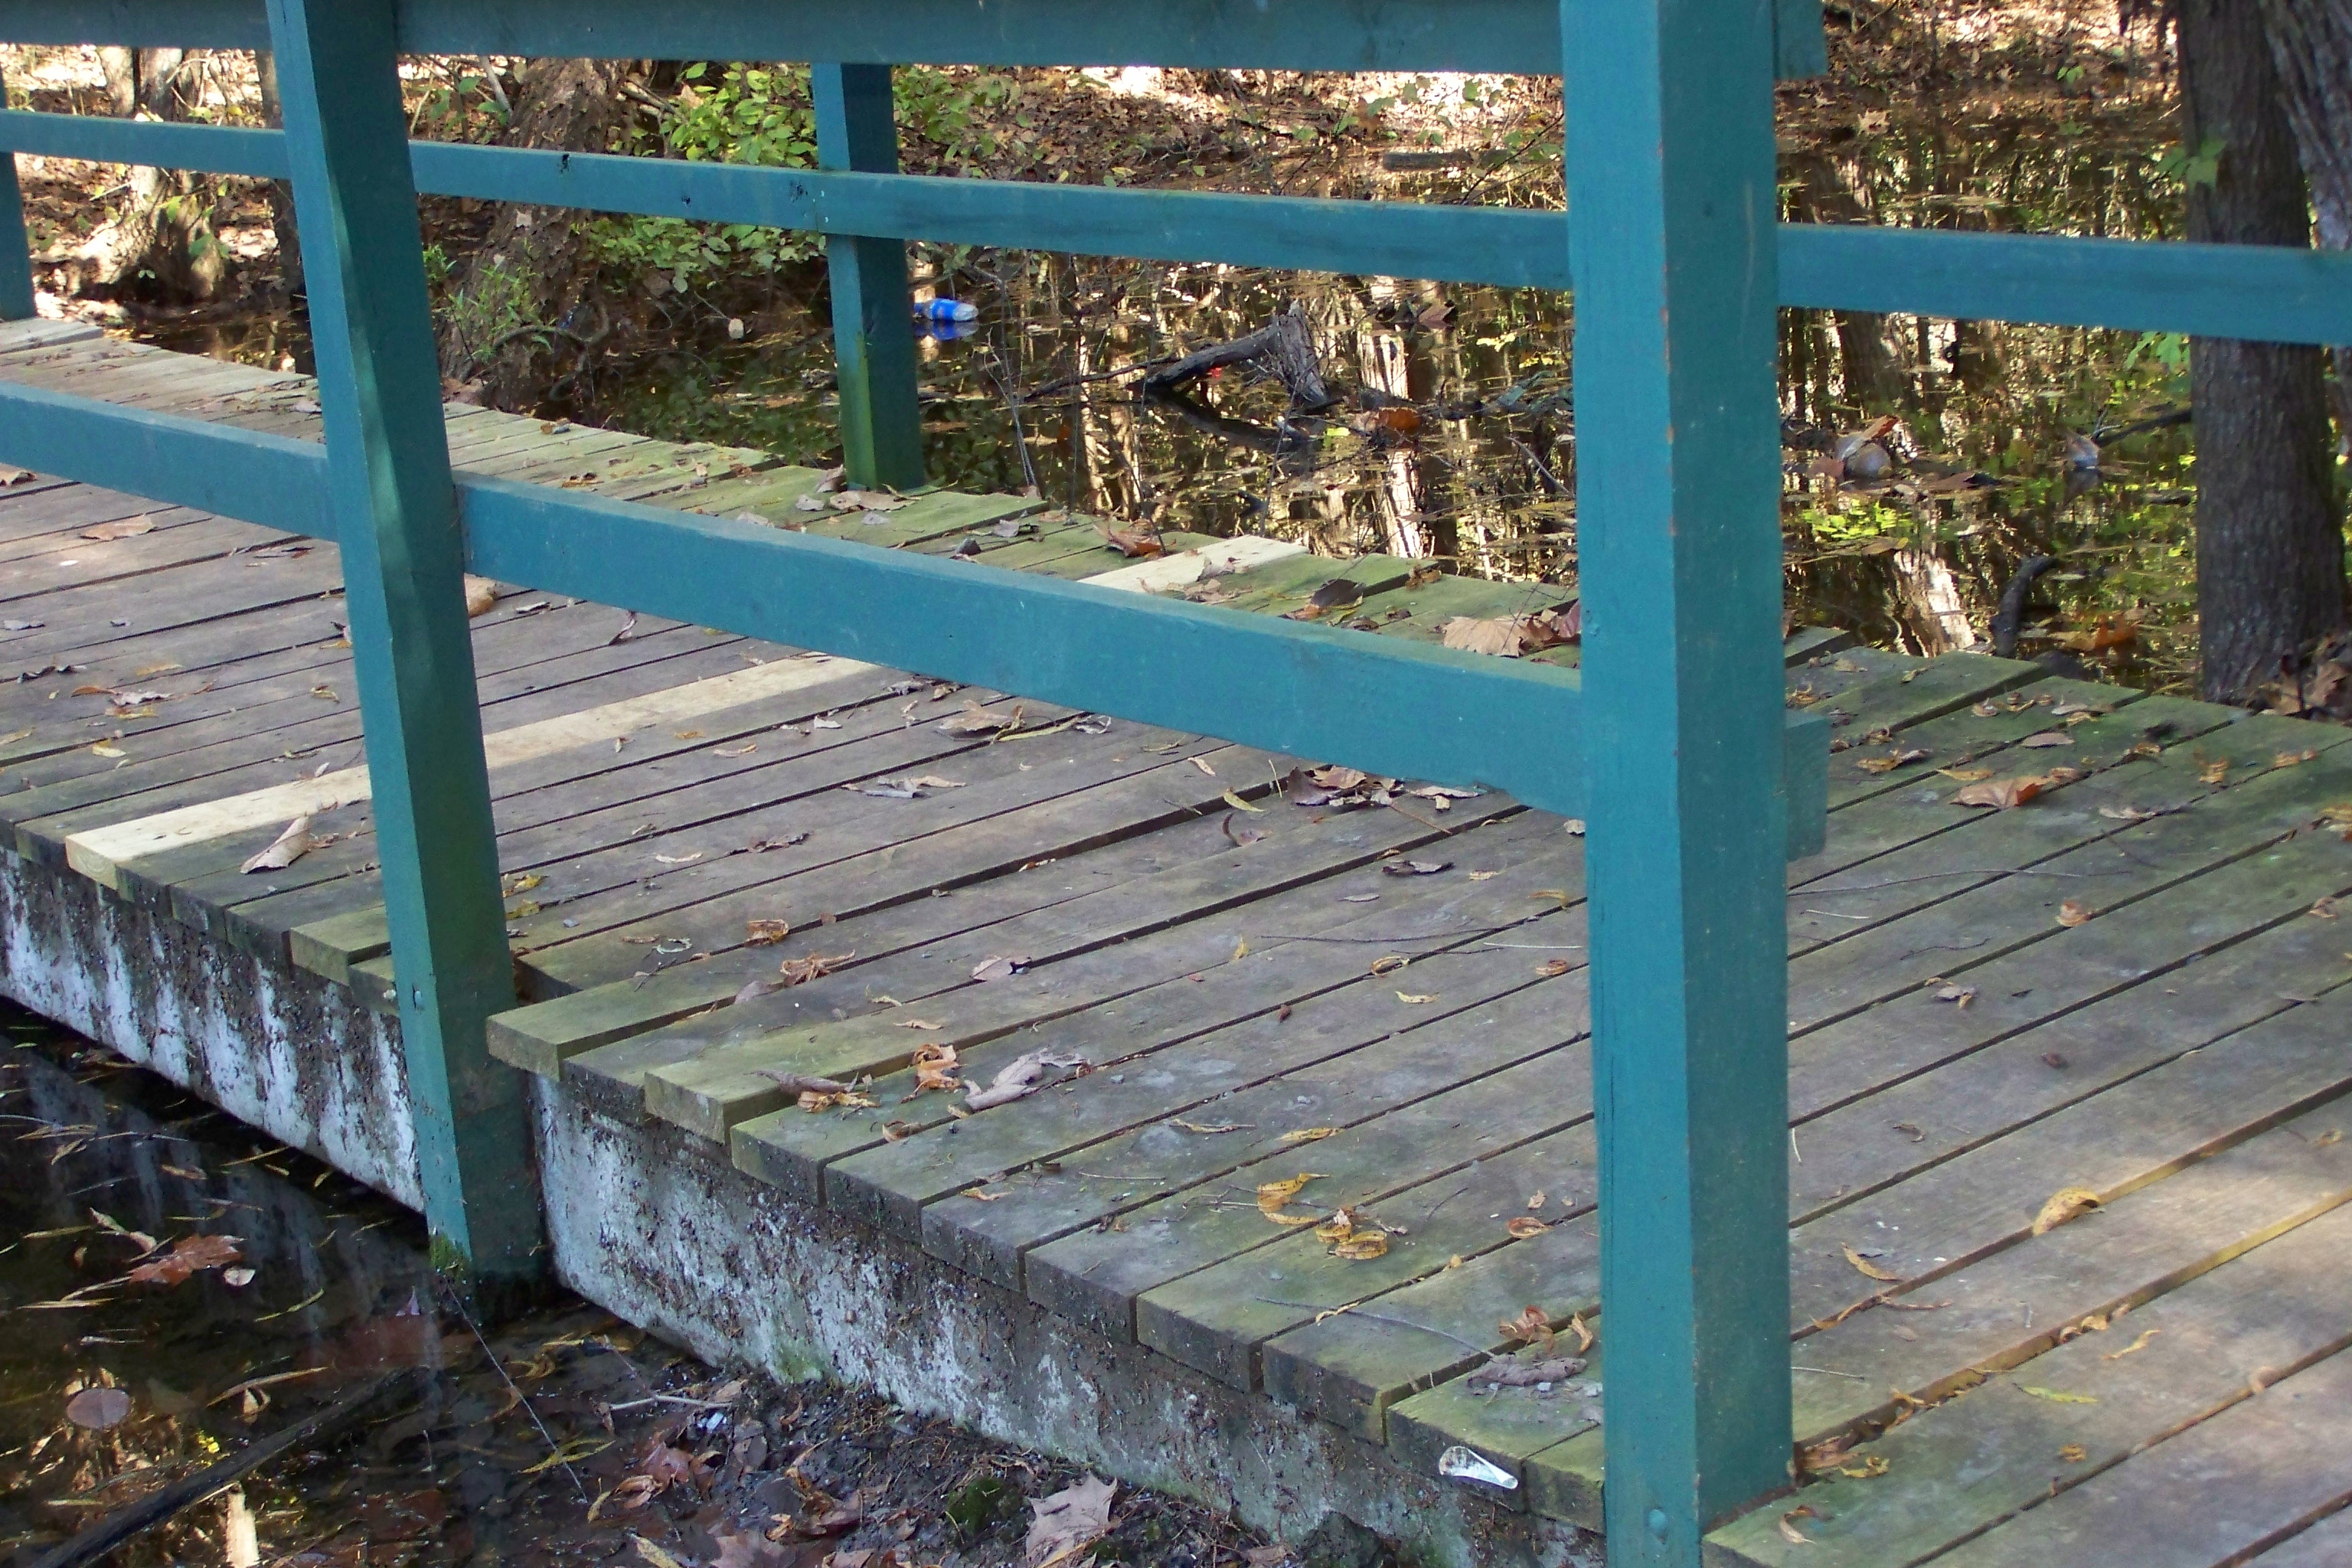
Letter Z
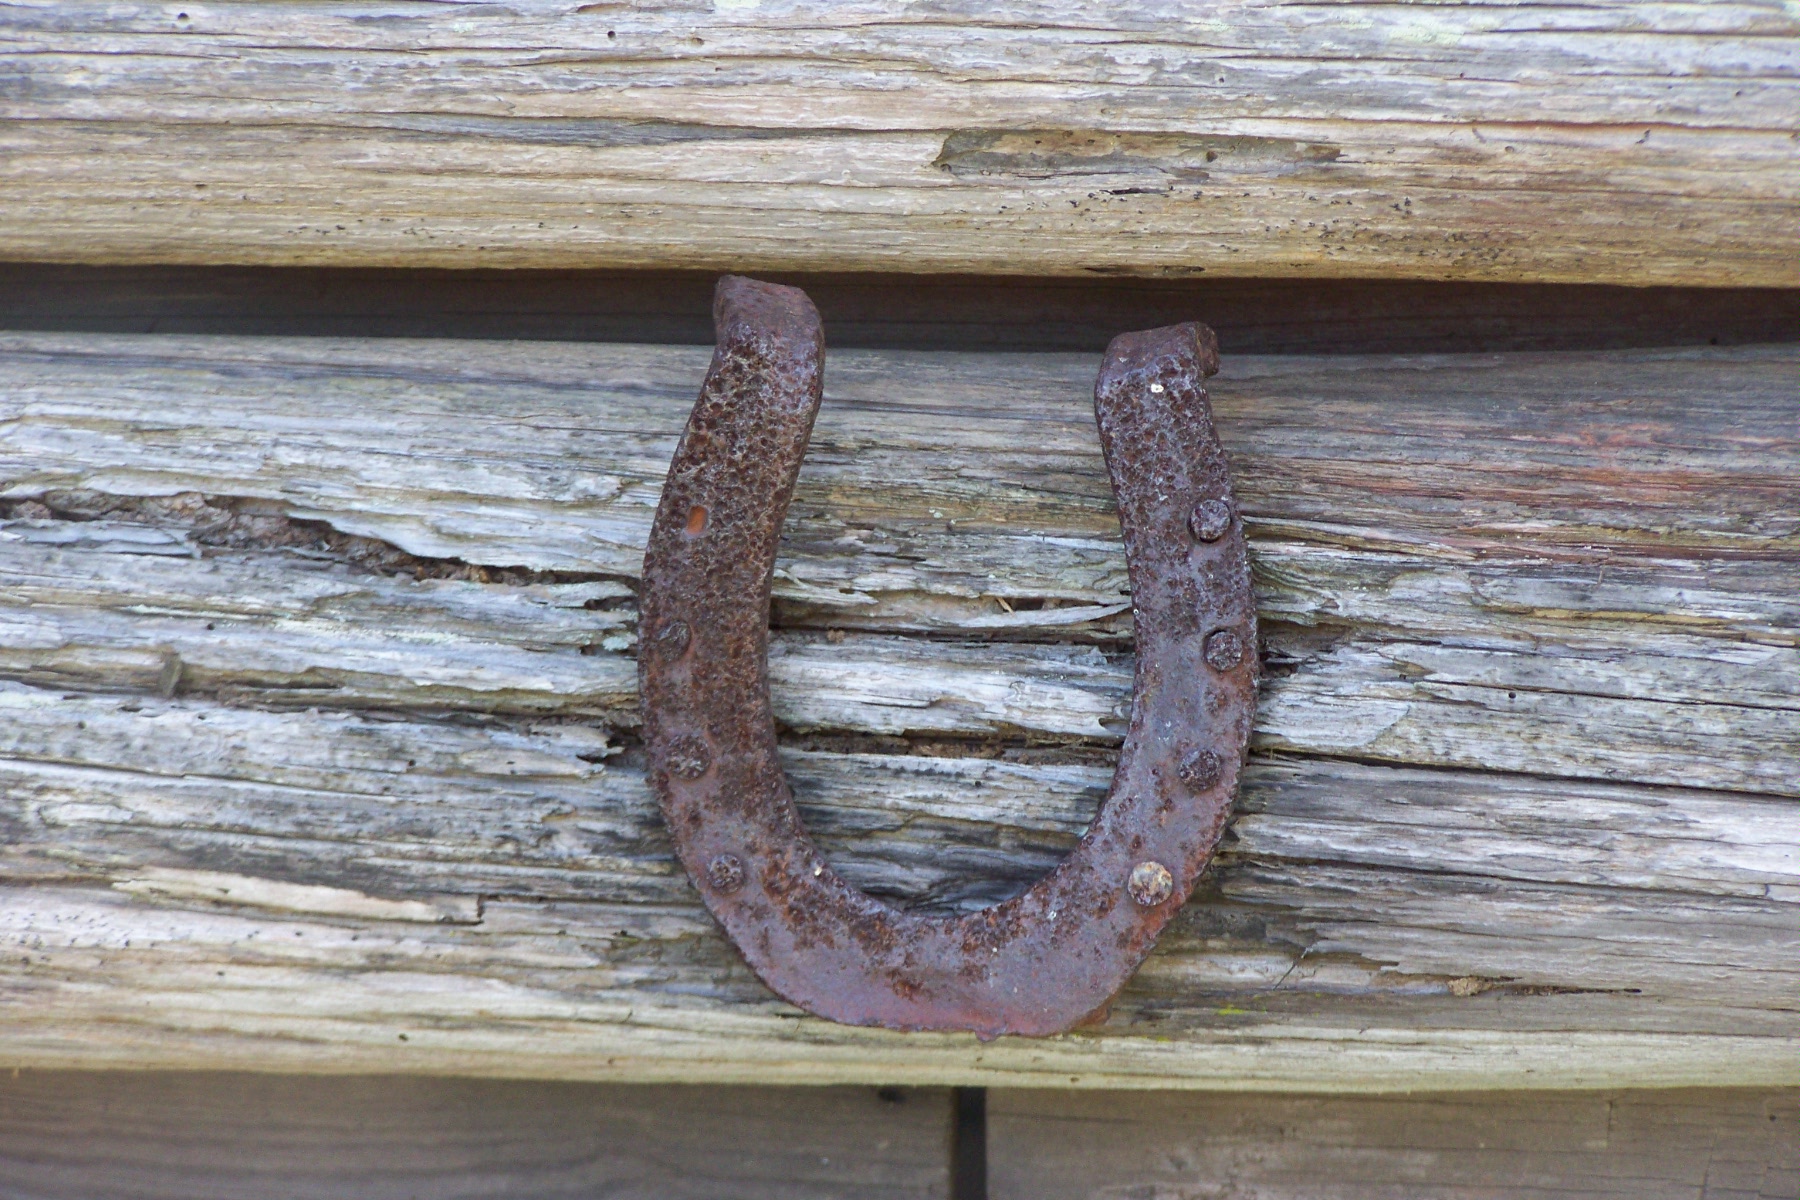
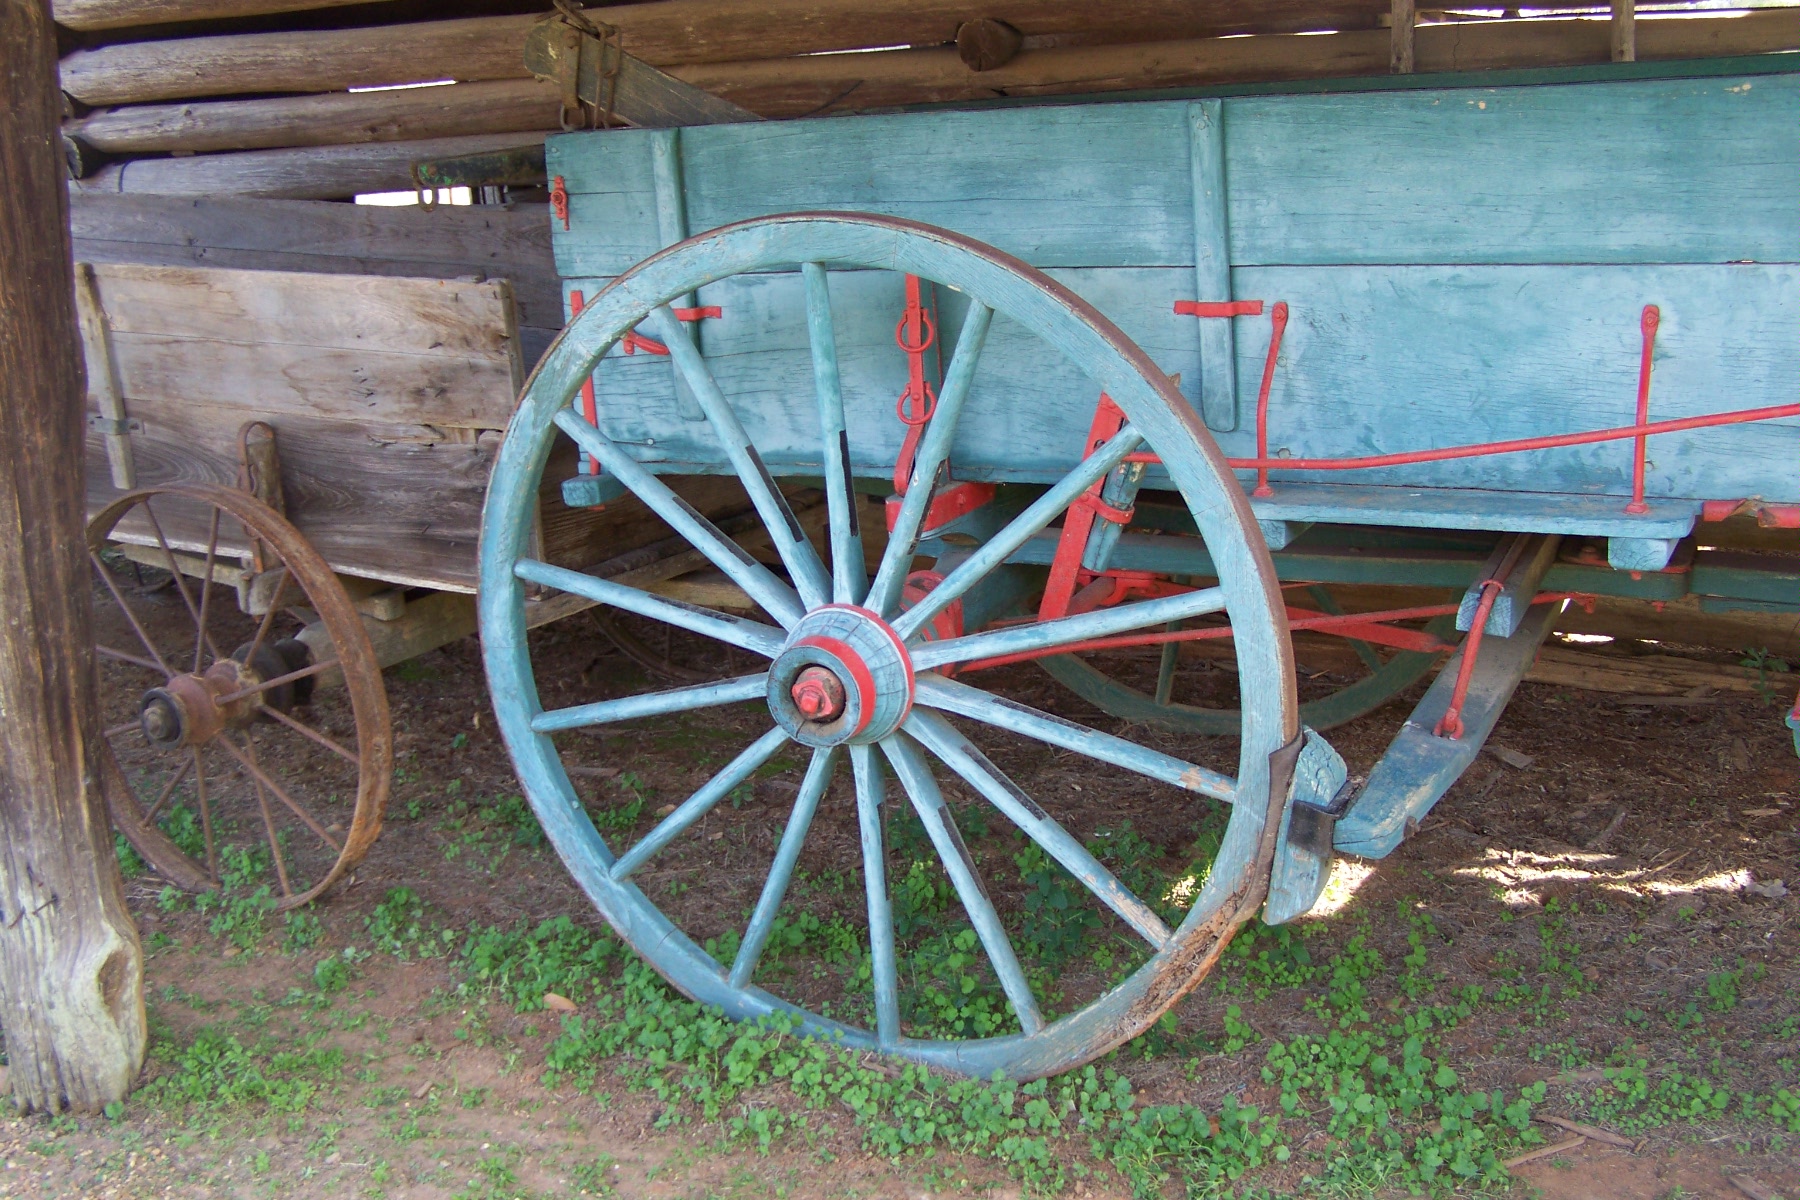
Letter U
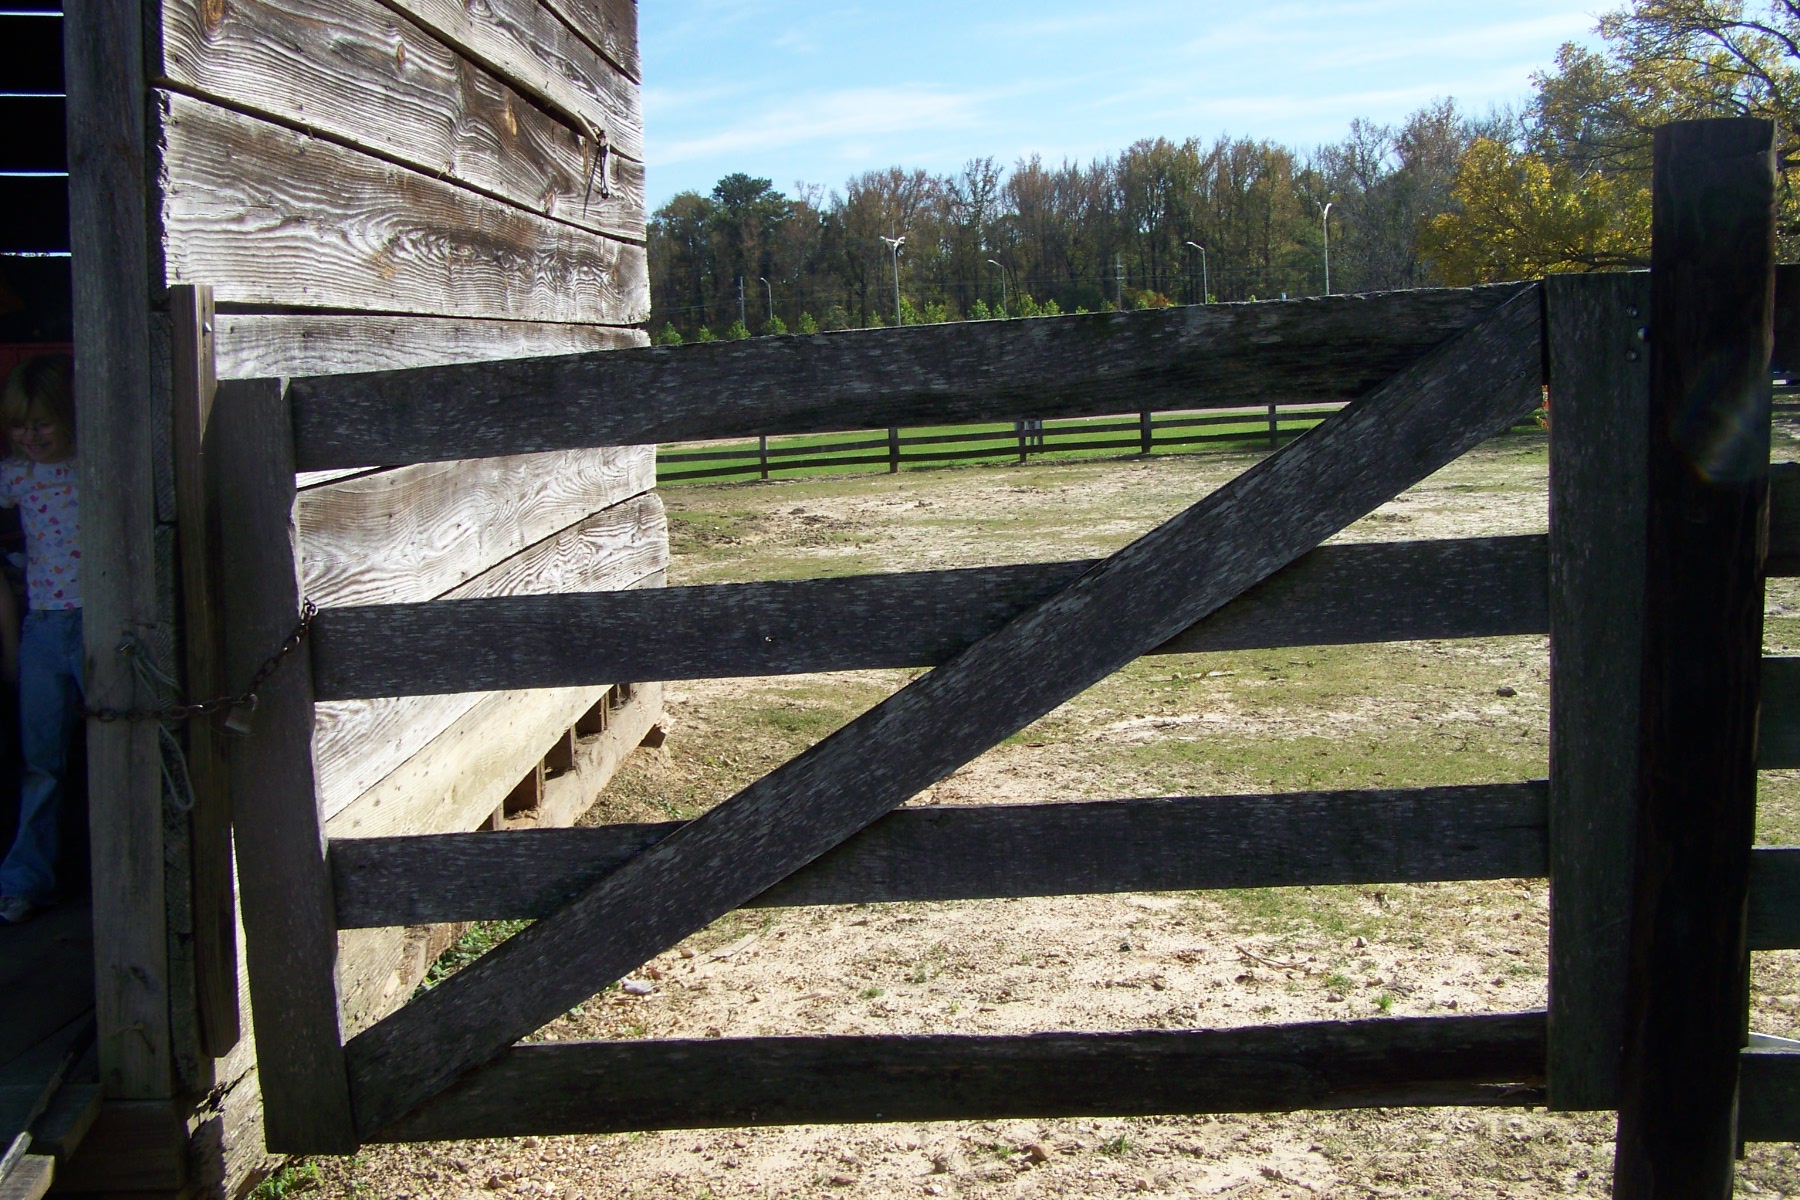
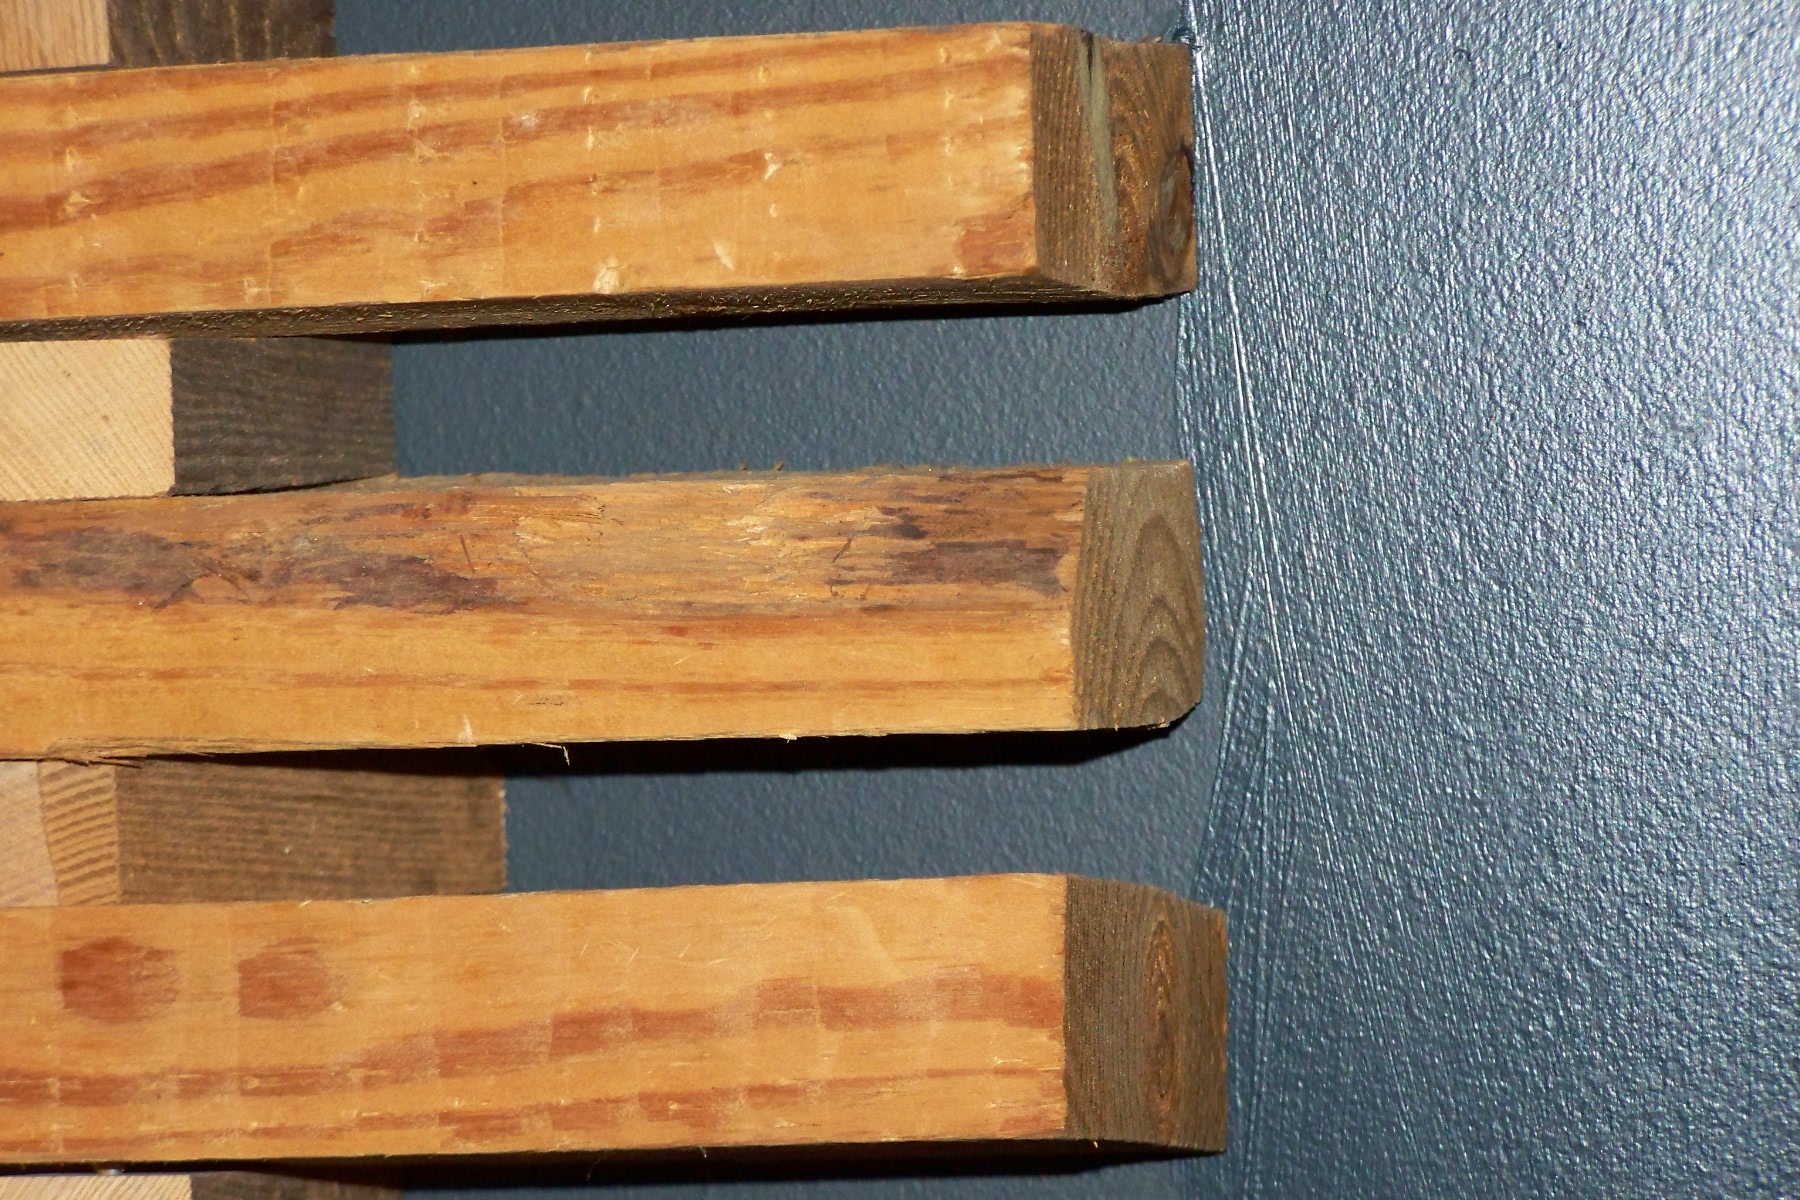
Letter N
Letter X
Letter s
Letter B
Letter P
Letter H
Letter O
Letter E

Letter A
What To Do After Your Real-Life Letter Hunt
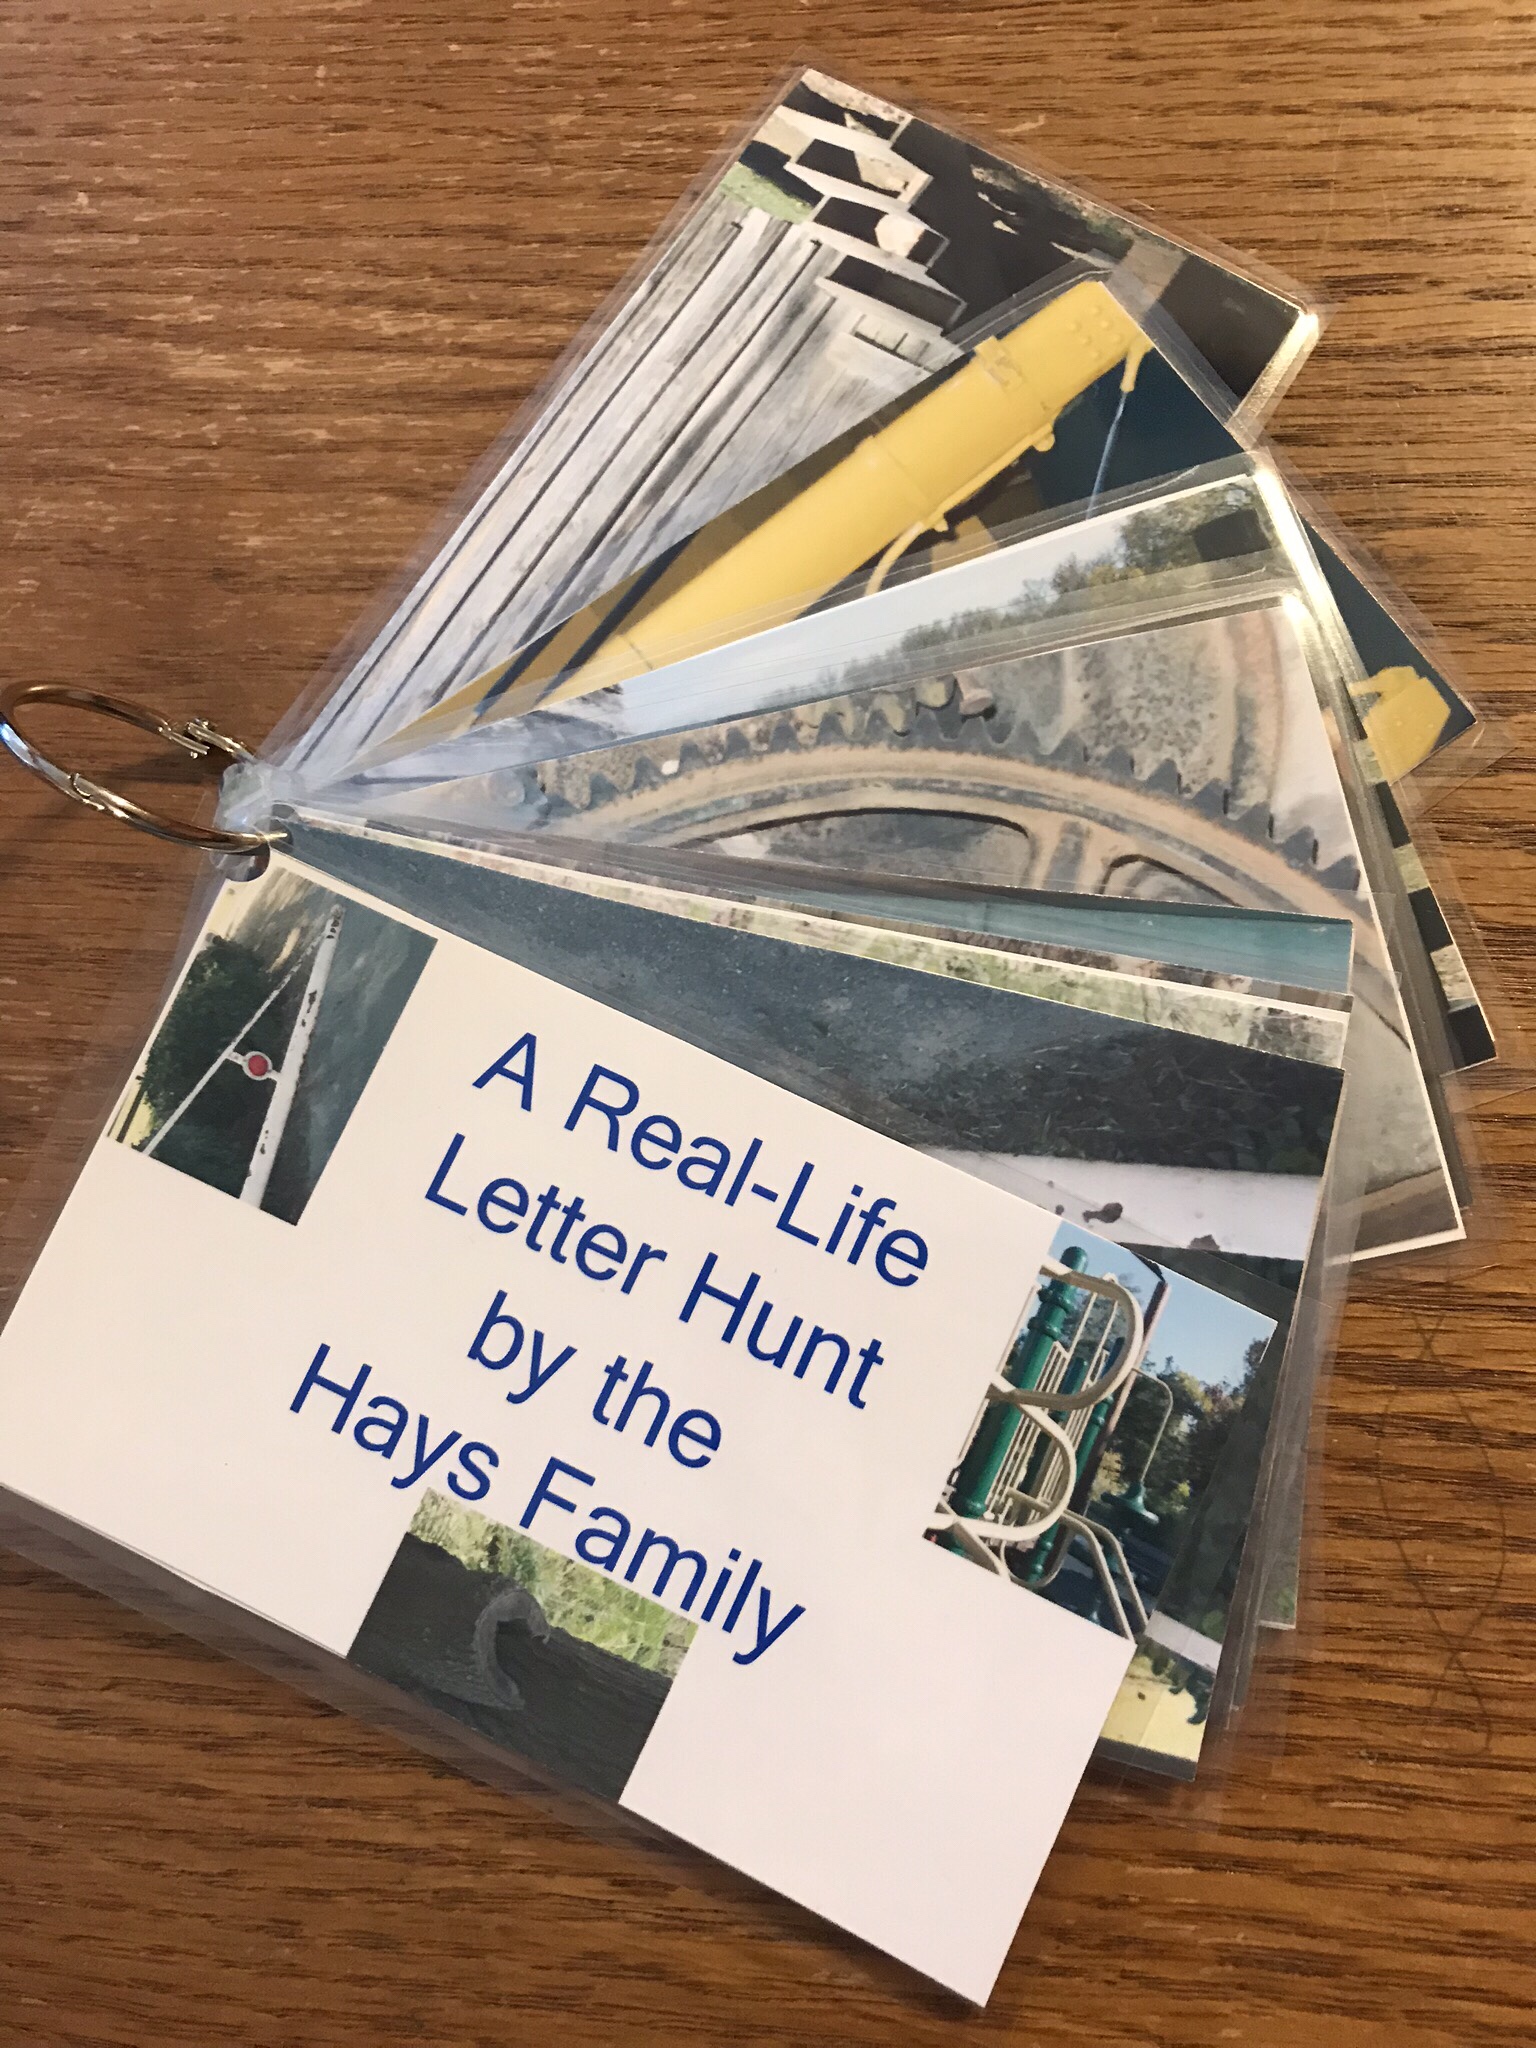
I originally intended to have our letters printed into a book at an online service, but . . . this homeschool mom has a bad habit of starting great ideas and not following through with the finished product! If you decide to have your letters printed in a book, many online options are available. We usually use Walmart, but you can choose your favorite printing service. If you have a decent printer, you can print your own pictures and make them into a book with staples or a hole punch. We decided to print card size pictures, laminate them, and put them on a ring for the younger children to review. I made our card set into a “look and find” book by printing just the photo on one side, so the kids can find the letter in the picture. Then on the other side, I printed the photo with the letter outlined in marker to show the answer. First, I printed two 3″x5″ copies of each picture, 4 per sheet, on inexpensive photo paper. Next. I cut the photos apart. (Scissors will do, but try a scrapbook cutter for straight, quick cuts.) Then I outlined the letter on one copy to make it obvious. I stuck the two pictures back to back with double sided scrapbook tape to keep them from sliding apart in the laminator. I put 4 photos in letter size laminate sheets, and used the 5 ml setting on my thermal laminator since photo paper is a little thick. After laminating, I cut them out and hole punched the top left corner. (Be sure not to cut too close. My first photos came apart because I cut off the sealed edge.) Finally, I made a cover page and put them on a hinged craft ring. The easy open craft ring allows kids to take them off to make words or practice putting them in alphabetical order. You can also use a key chain ring, which is a little harder to assemble but will stay together.
Useful supplies
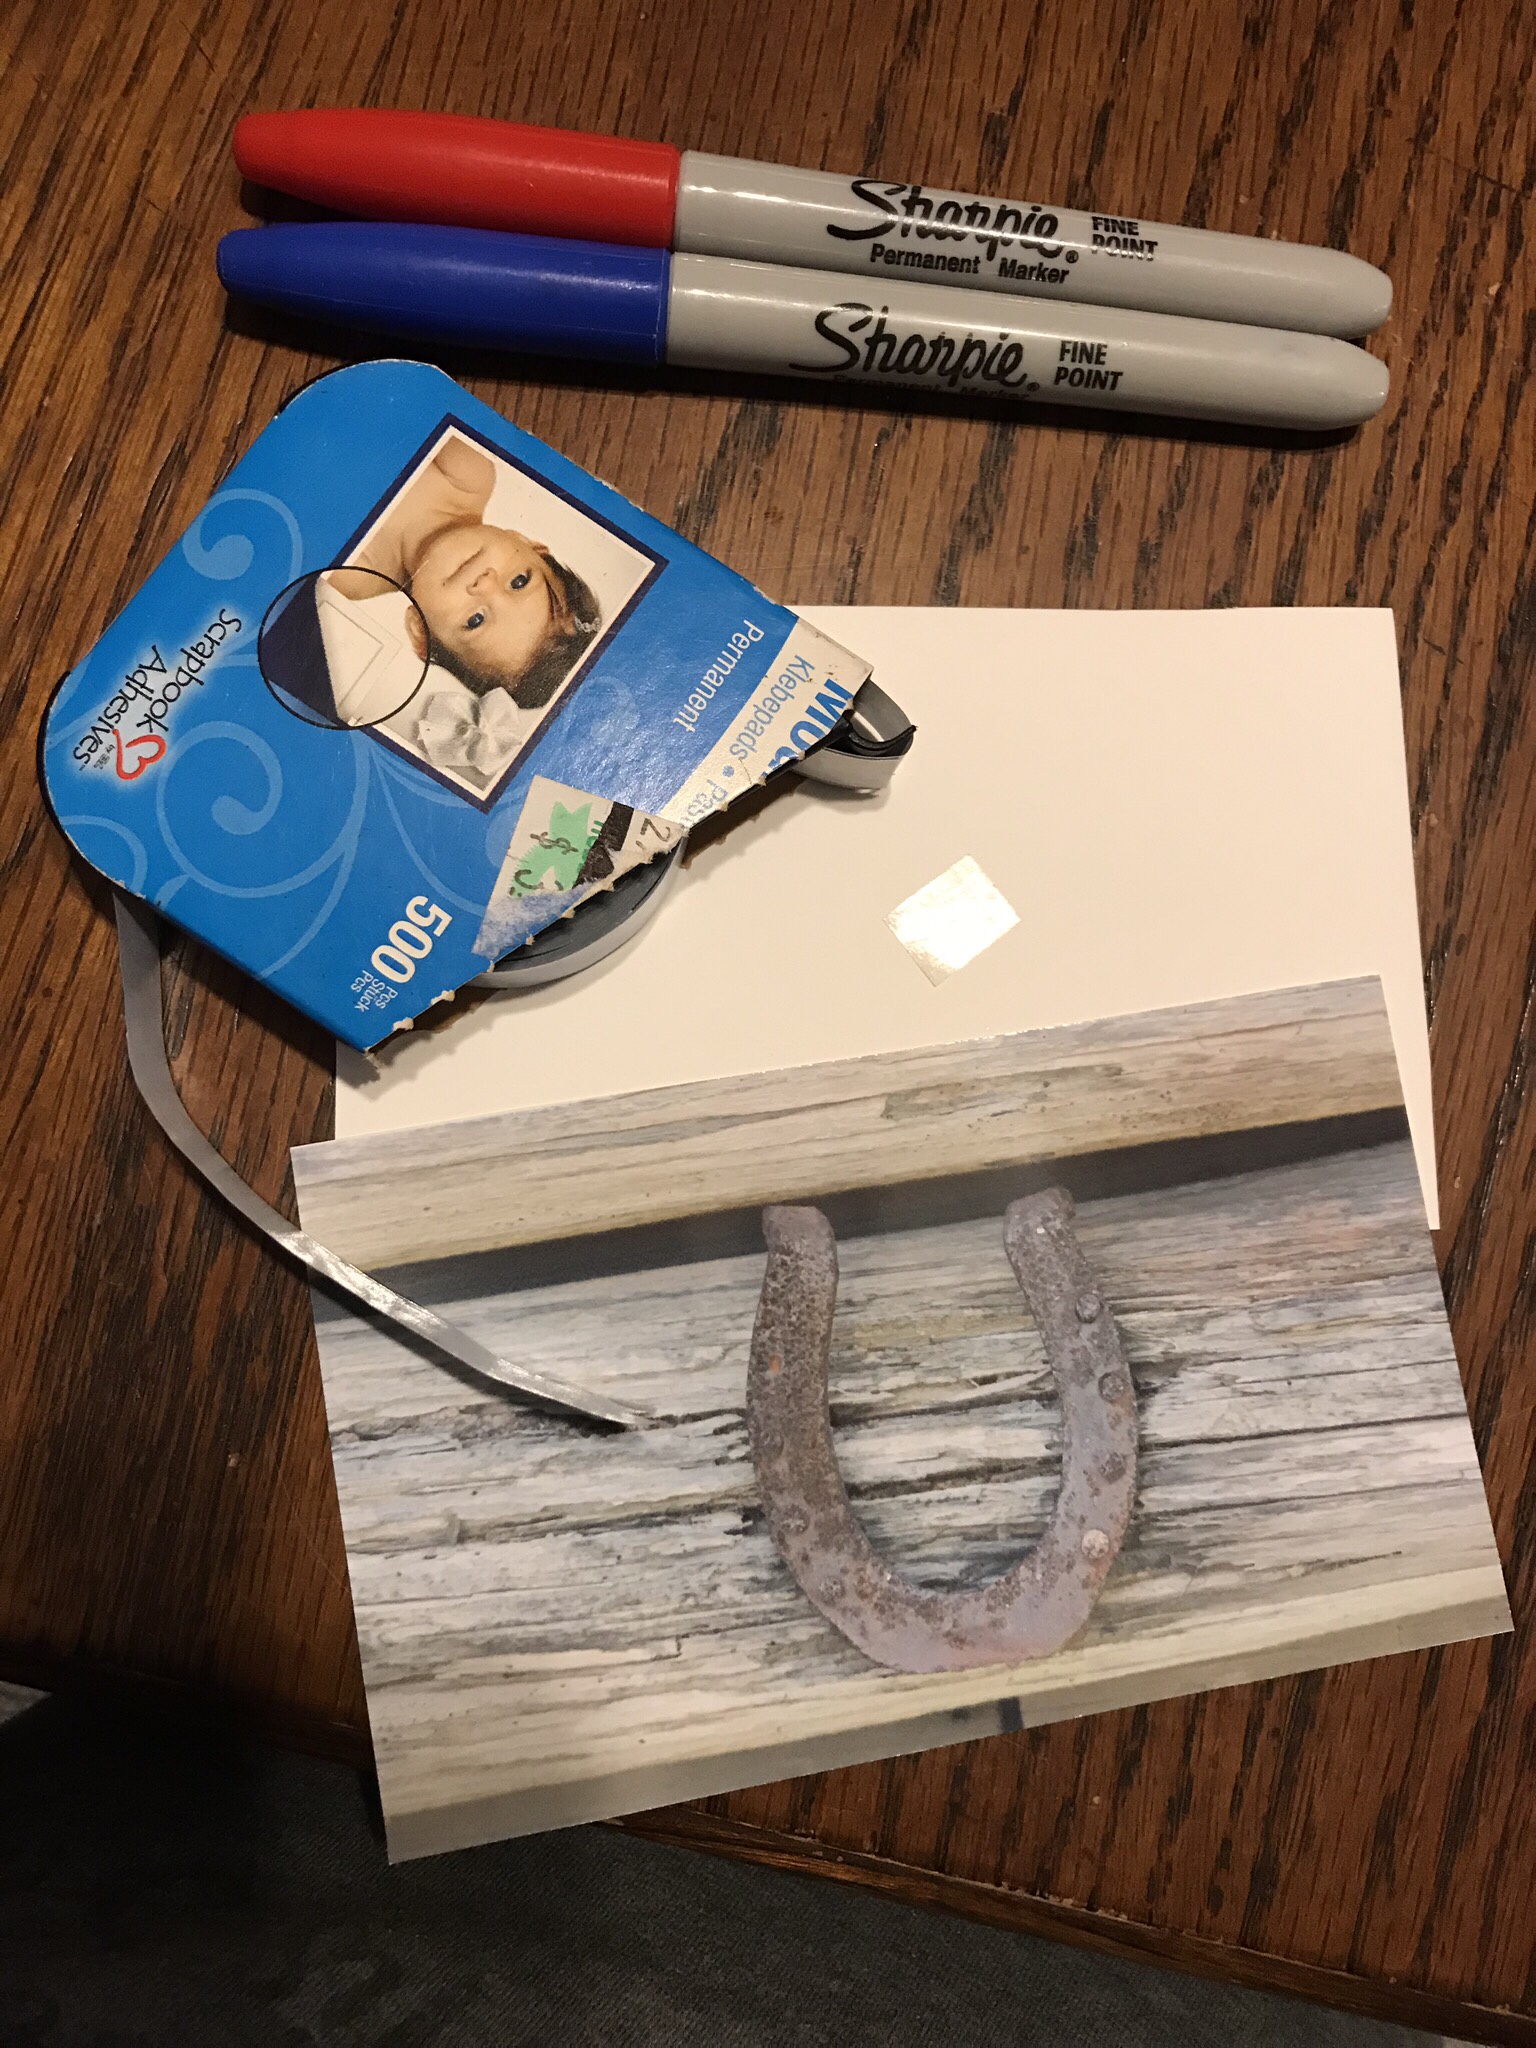
More supplies
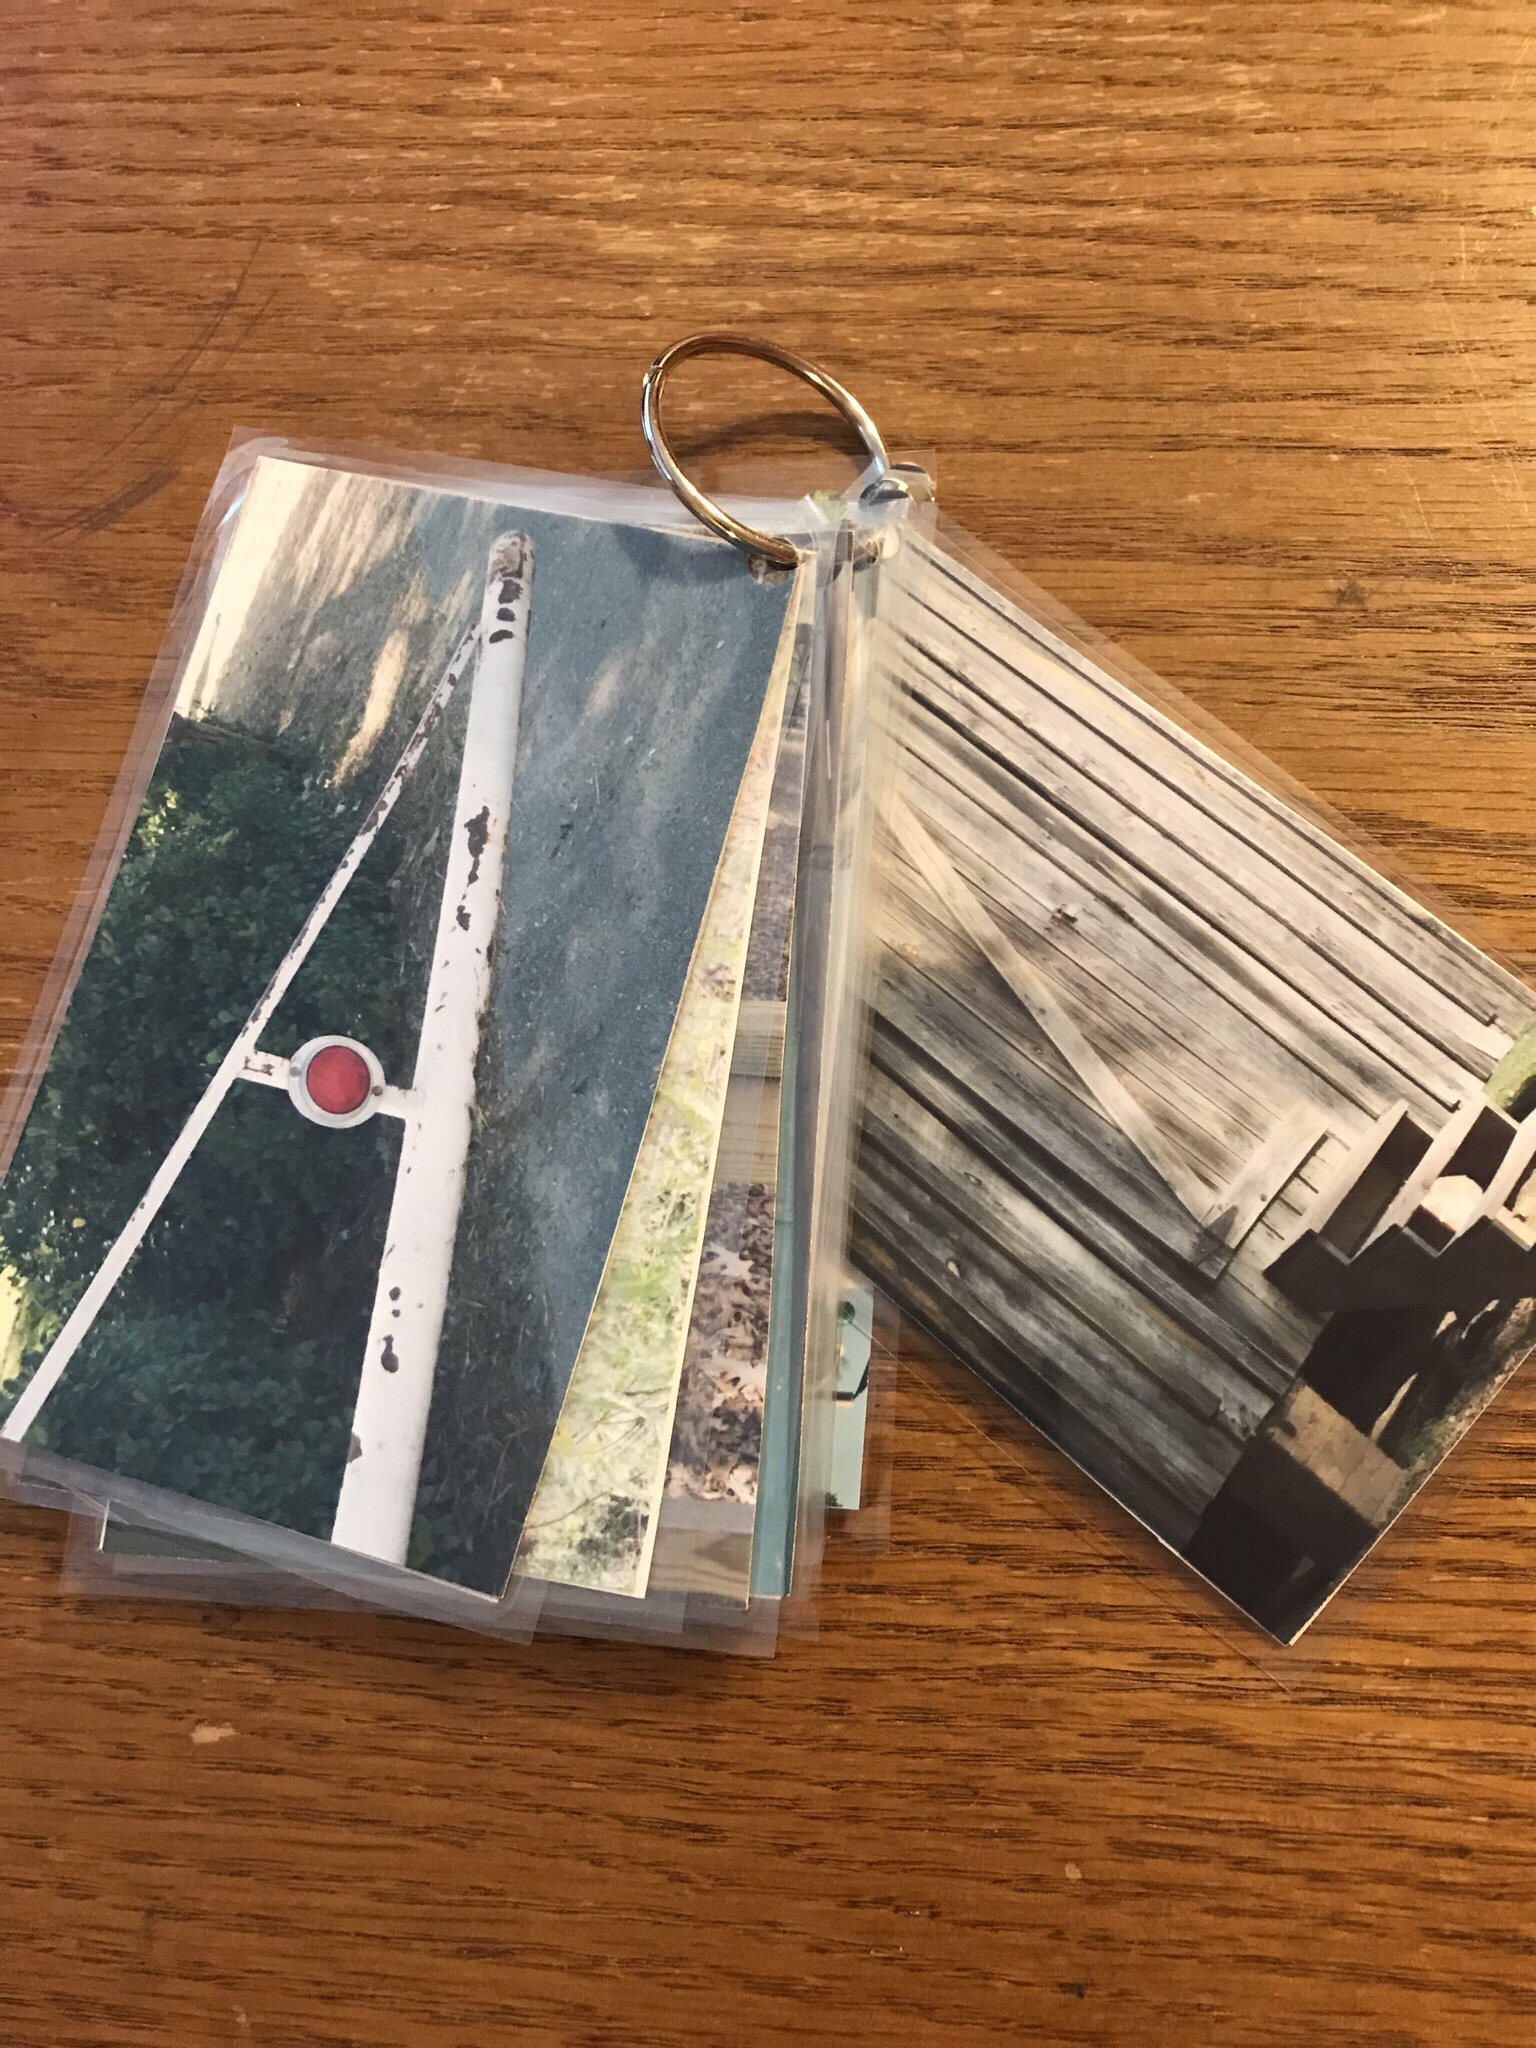
Photo side

Answer Side
For very little money, you can put together a keepsake that your children can look at over and over, reviewing letters and remembering your Real-Life Letter Hunt together.
A Real-Life Letter Hunt is not just for homeschoolers! All families can have fun learning adventures together. So, get your camera or phone, load up your kids, and go on a Real-Life Letter Hunt as you enjoy creating lifelong memories in everyday moments along the way!
I’d love to see your creative work! After you finish, come back and share a pic or two in the comments, please.


0 Comments